Running a LLM Locally with Ubuntu
Last Update: Jun 24, 2024
I wrote a book! Check out A Quick Guide to Coding with AI.
Become a super programmer!
Learn how to use Generative AI coding tools as a force multiplier for your career.
If you want to run your own large language model like ChatGPT, you’re in luck. There are tons of well-rounded, easy software packages for this. Ollama is one of my favorites by far.
Video for this tutorial:
In this tutorial, we will set up Ollama with a WebUI on your Ubuntu Machine. This is a great way to run your own LLM for learning and experimenting, and it's private—all running on your own machine.This is an updated version of this article I wrote last year on setting up an Ubuntu machine.
I’ve included some mistakes here and figured it out so you don’t have to make the same ones. Let’s jump in!
My Ubuntu System
Here’s the system I’m starting with. I have a fresh, updated Ubuntu 24.04 LTS. There isn’t much installed on it yet, so I can cover the dependencies you’ll probably need.
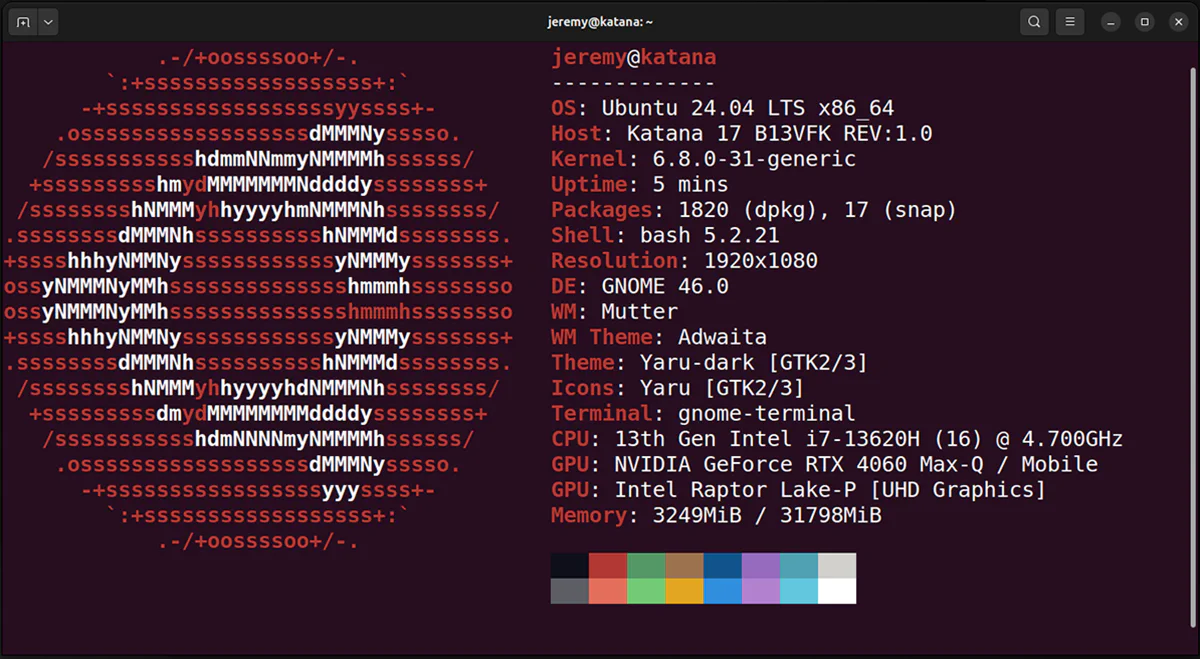
I have an NVidia card in this machine, which helps tremendously but also adds complexity, so we’ll cover installing with the Nvidia card.
Check Your Drivers
If you have an Nvidia card, you must install the drivers and have it working for Ollama to utilize it.
You can check with
nvidia-smi -a
or
nvidia smi
to verify functionality.
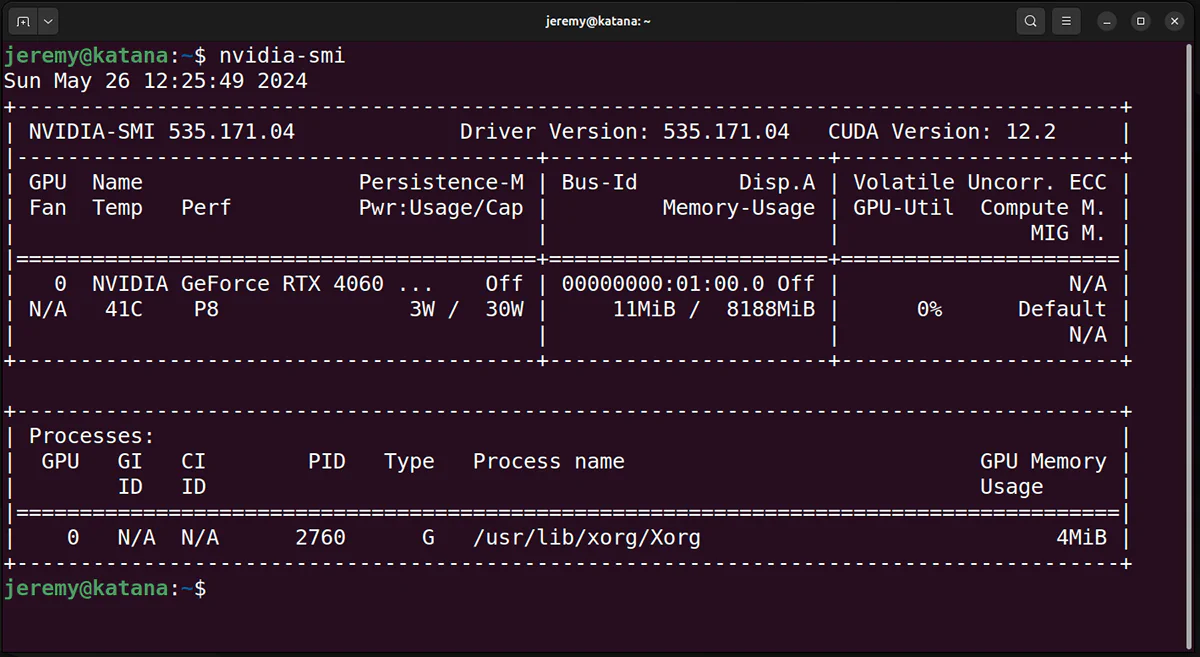
Once it’s installed, you’re good to go!
Getting Ollama
The tool we will work with today to run large language models on our machines is Ollama. It’s such a great product. It has the rare combination of being easy to install and use while being very powerful at the same time.
So we head to Ollama.com
Go to download
and for Linux, you’ll get a script:
curl -fsSL https://ollama.com/install.sh | sh
Some people get nervous about remote shell script execution. If you choose to, you can wget this script, open it up, and check it out to see if there’s anything you don’t like.
wget https://ollama.com/install.sh
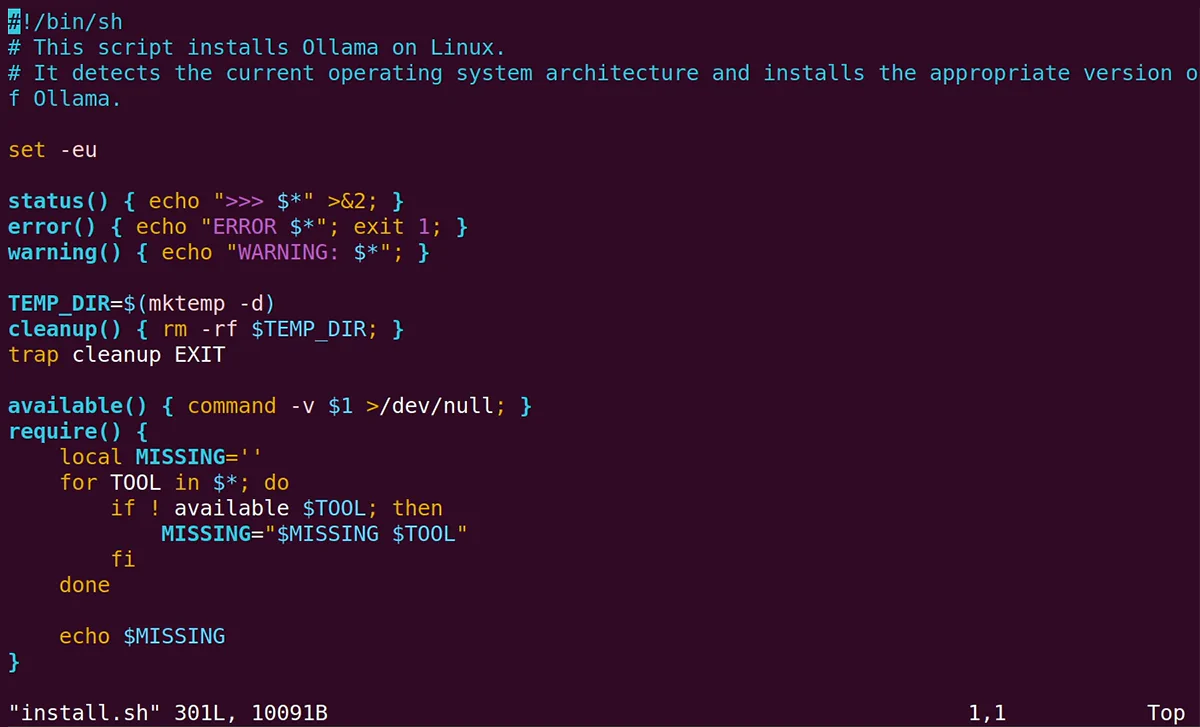
I did this the first time, and there’s nothing weird here to worry about.
Once you run the script, it should look something like this:

Notice it says “NVIDIA GPU installed.” You should see this if you have an Nvidia card that’s properly configured.
Getting Your First Model
Let’s find a large language model to play around with.
Back on the Ollama page, we’ll click on models.
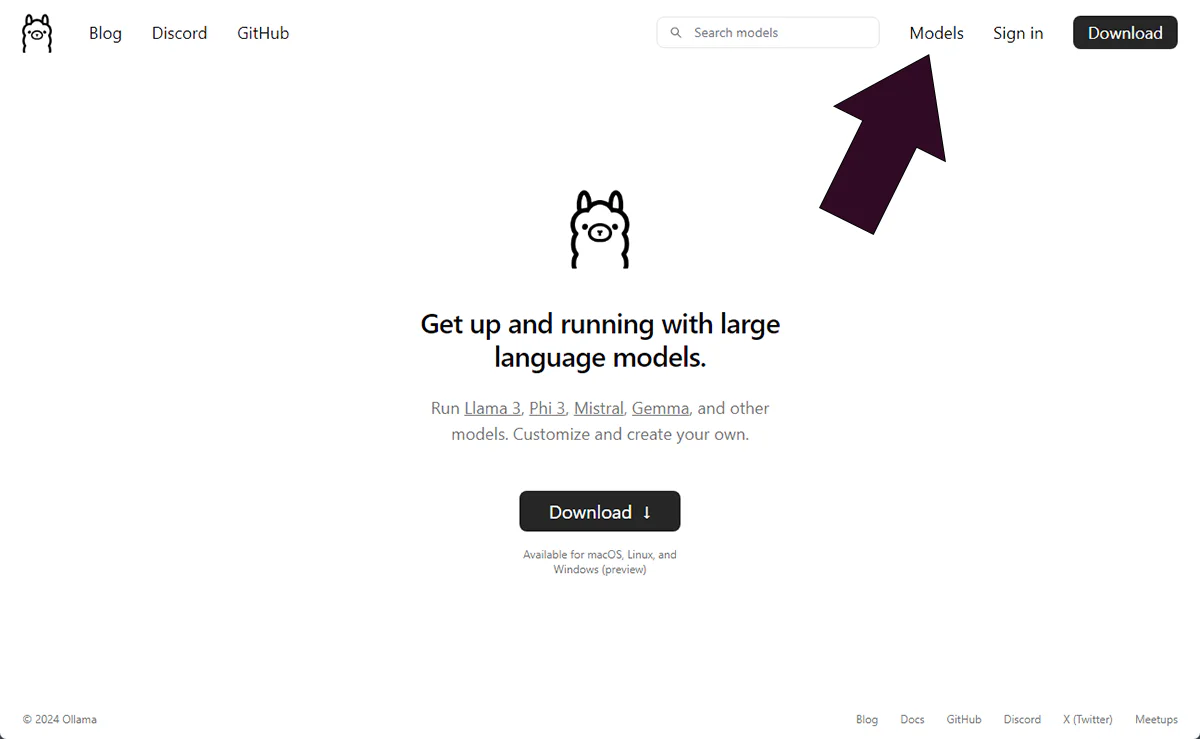
On this page, you can choose from a wide range of models if you want to experiment and play around.
Here’s the llama3 model which I’ve tried out recently, It’s really good.
On the model pages, you can see different models available with a dropdown:
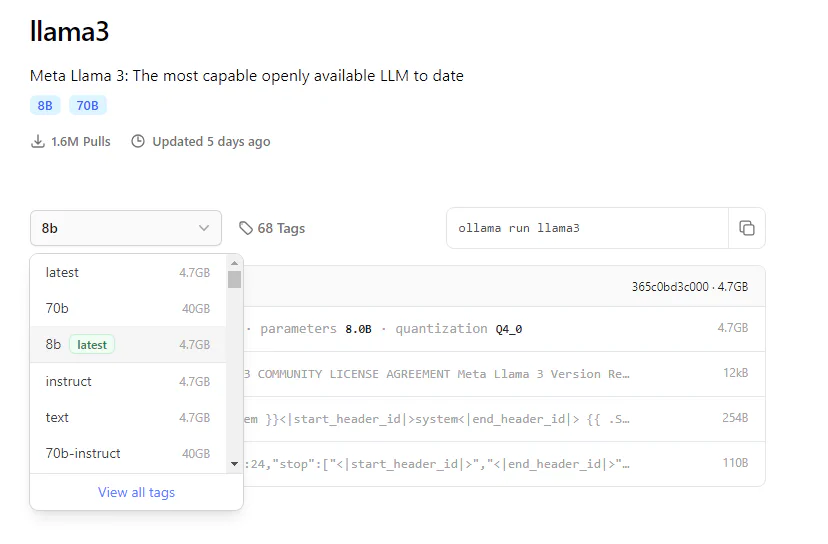
We can see a 70B, 8B, and instruct and text models with this model.
The 70B is the number of parameters. Generally, bigger is better, but it will take far more GPU power and memory. On a laptop, 70B is possible with some models, but it is very slow. 8B is a good, fast model with a smaller footprint (4.7GB vs 40GB).
Text Model: These models are more optimized for chat and having “conversations” with you.
Instruct Model: These models are fine-tuned to follow prompted instructions and are optimized for being asked to do something.
For this test, we will use the llama3:8b model. So I’ll run
ollama run llama3:8b
At the terminal. The first time you run this, you will need to download the model. It only does this once, and then it loads much faster.

One it’s loaded up, you can send the obligatory:
why is the sky blue?
or whatever prompt you want. You’re ready to go! This is a good prompt interface for testing models.
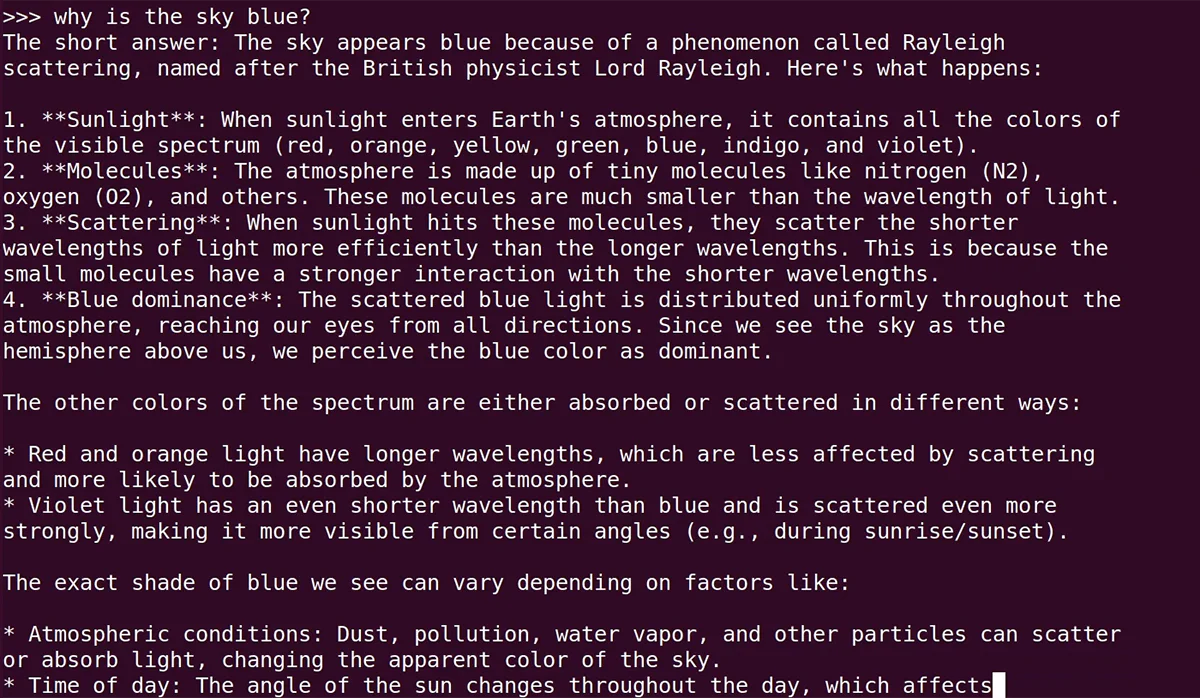
But what are some other ways you can utilize this tool? Let’s find out. To exit this interface, type in
/bye
And you can close it out or run another model. Let’s try something different.
Accessing the Ollama API with CURL
With Ollama running, you have an API available. Make a node of the model you downloaded, in my case, it was the llama3:8b model. You can access it with CURL. We’ll create a simple command that calls the local webserver, and generates a request. You need the model, the prompt, and choose whether to “stream” it or not.
Should I stream?
If stream is set to TRUE, it will give you answers one token (word) at a time. You may have seen this behavior with LLMs on the web where each word comes out individually. When stream is FALSE, it returns the whole answer at once. It’s much easier when developing to deal with a single object rather than potentially thousands. But the choice is up to you. I’m choosing to not stream the answers here for simplicity.
curl http://localhost:11434/api/generate -d '
{
 "model": "llama3:8b",
 "prompt": "Why is the sky blue?",
 "stream": false
}'
So I send this curl command and quickly get some JSON output.
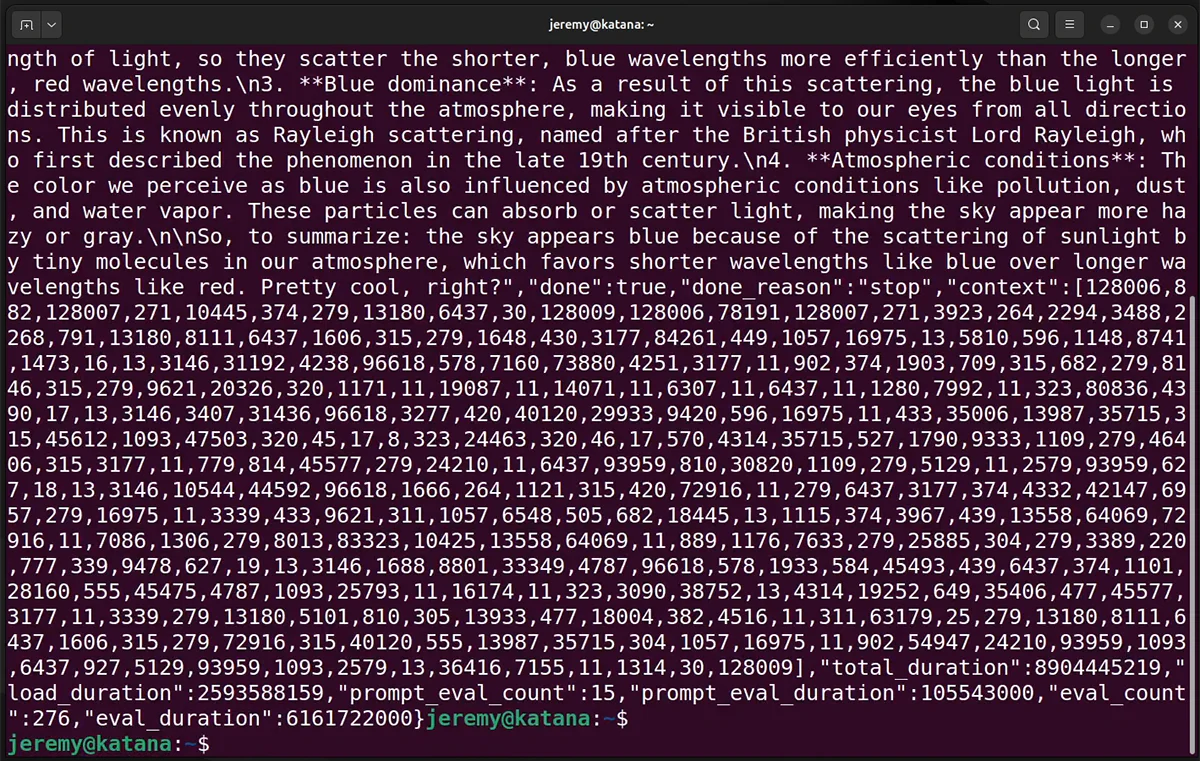
You can, of course, write the output to a text file or read it some other way. But there are also plenty of libraries for implementing it into software.
Accessing the Ollama API with Python
Accessing Ollama with Python is incredibly easy, and you’ll love it.
Create a new Python environment:
python3 -m venv ollamatest
source ollamatest/bin/activate
Then install the Ollama library
pip install ollama
Then, create simple Python Script like this:
import ollama
response = ollama.chat(model='llama3', messages=[
 {
 'role': 'user',
 'content': 'Why is the sky blue?',
 },
])
print(response['message']['content'])
And run it!
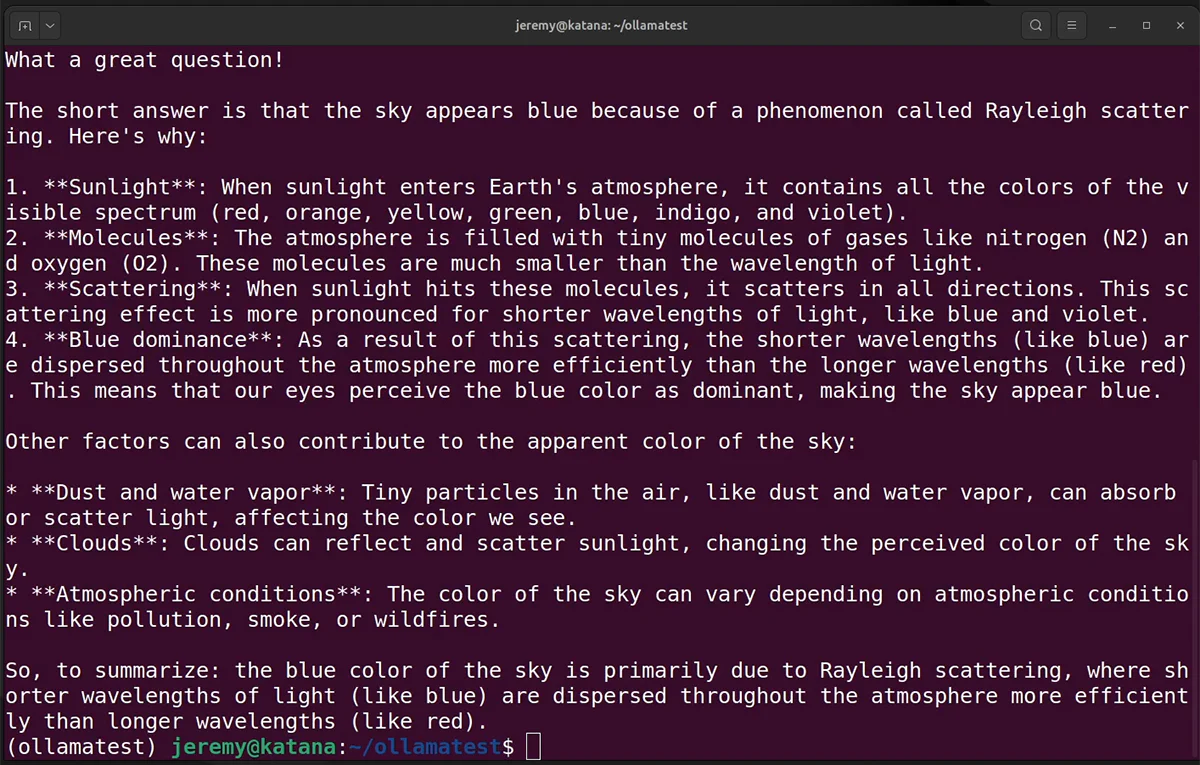
A surprisingly low amount of code is required to get things done. Check out the Ollama API Documentation for more.
But what if you want a web interface? I covered this in my last article on running LLMs in Ubuntu. The web interface is better now, but it requires a bit more preparation work. Don’t worry; I’ll cover it.
Creating a Web Interface for Ollama
In my previous article with WSL, I showed how to set things up with the “Ollama Web UIIt has been rebranded to the.” Open WebUI. It now supports other things besides Ollama.
It’s far better but trickier to set up because it runs in a Docker container now. This is the better choice for something like this, even if it requires another 5 minutes to set things up.
If you look at the instructions on the OpenUI page, if you want to run OpenUI with Ollama built in, and Nvidia GPU support, they give you a docker command that instantly sets it up. But what if you’re on a new machine? What do you need to install for this?
Here are the steps:
1. Add Docker
sudo apt install docker.io
Add a group for Docker:
sudo groupadd docker
Add yourself to this group:
sudo usermod -aG docker ${USER}
Then log out and log back in.
2. Install the Nvidia Container Toolkit
You’ll need to install this so that applications in Docker containers can use your GPU. The full instructions are here, but here are the commands as of now to get this done.
curl -fsSL https://nvidia.github.io/libnvidia-container/gpgkey | sudo gpg --dearmor -o /usr/share/keyrings/nvidia-container-toolkit-keyring.gpg \
 && curl -s -L https://nvidia.github.io/libnvidia-container/stable/deb/nvidia-container-toolkit.list | \
 sed 's#deb https://#deb [signed-by=/usr/share/keyrings/nvidia-container-toolkit-keyring.gpg] https://#g' | \
 sudo tee /etc/apt/sources.list.d/nvidia-container-toolkit.list
sed -i -e '/experimental/ s/^#//g' /etc/apt/sources.list.d/nvidia-container-toolkit.list
Update the packages list:
sudo apt-get update
then install the toolkit:
sudo apt-get install -y nvidia-container-toolkit
and configure it:
sudo nvidia-ctk runtime configure --runtime=docker
Now you can restart docker and you should be ready to go.
sudo systemctl restart docker
Awesome, if you have no errors you’re ready to go.
3. Install the Container
Now run this:
docker run -d -p 3000:8080 --gpus=all -v ollama:/root/.ollama -v open-webui:/app/backend/data --name open-webui --restart always ghcr.io/open-webui/open-webui:ollama
And it should be and running.
The Open Web UI
Once the Web UI loads up, you’ll need to create an account.
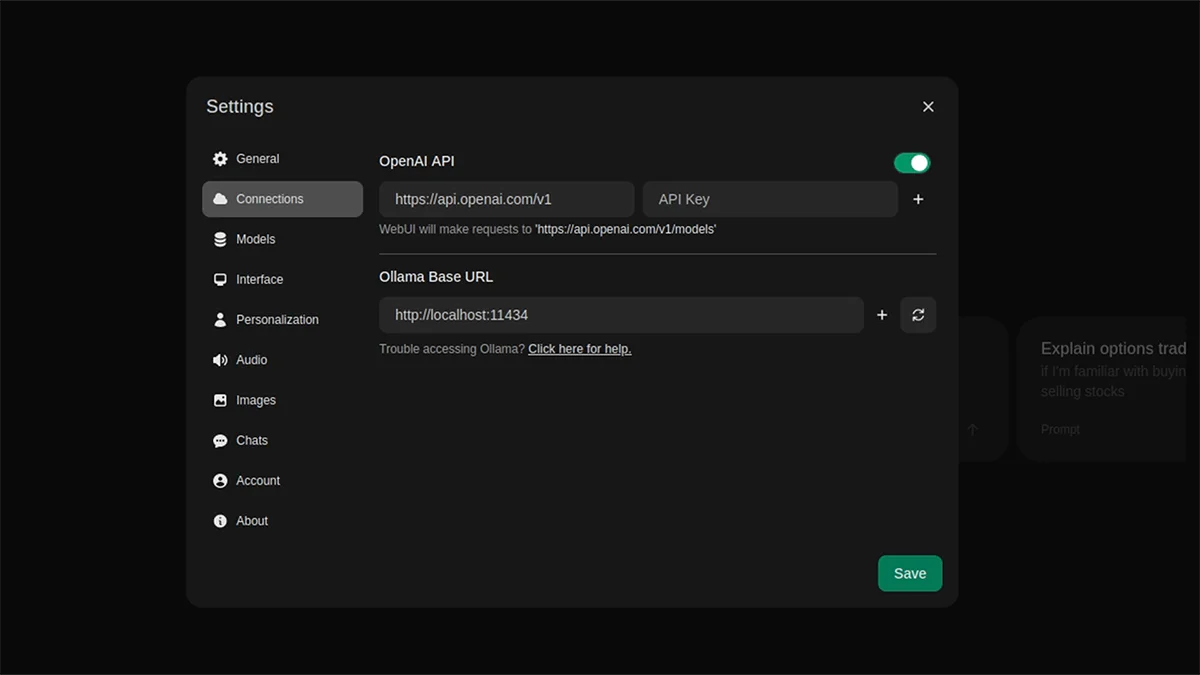
As far as I know, it’s just a local account on the machine.
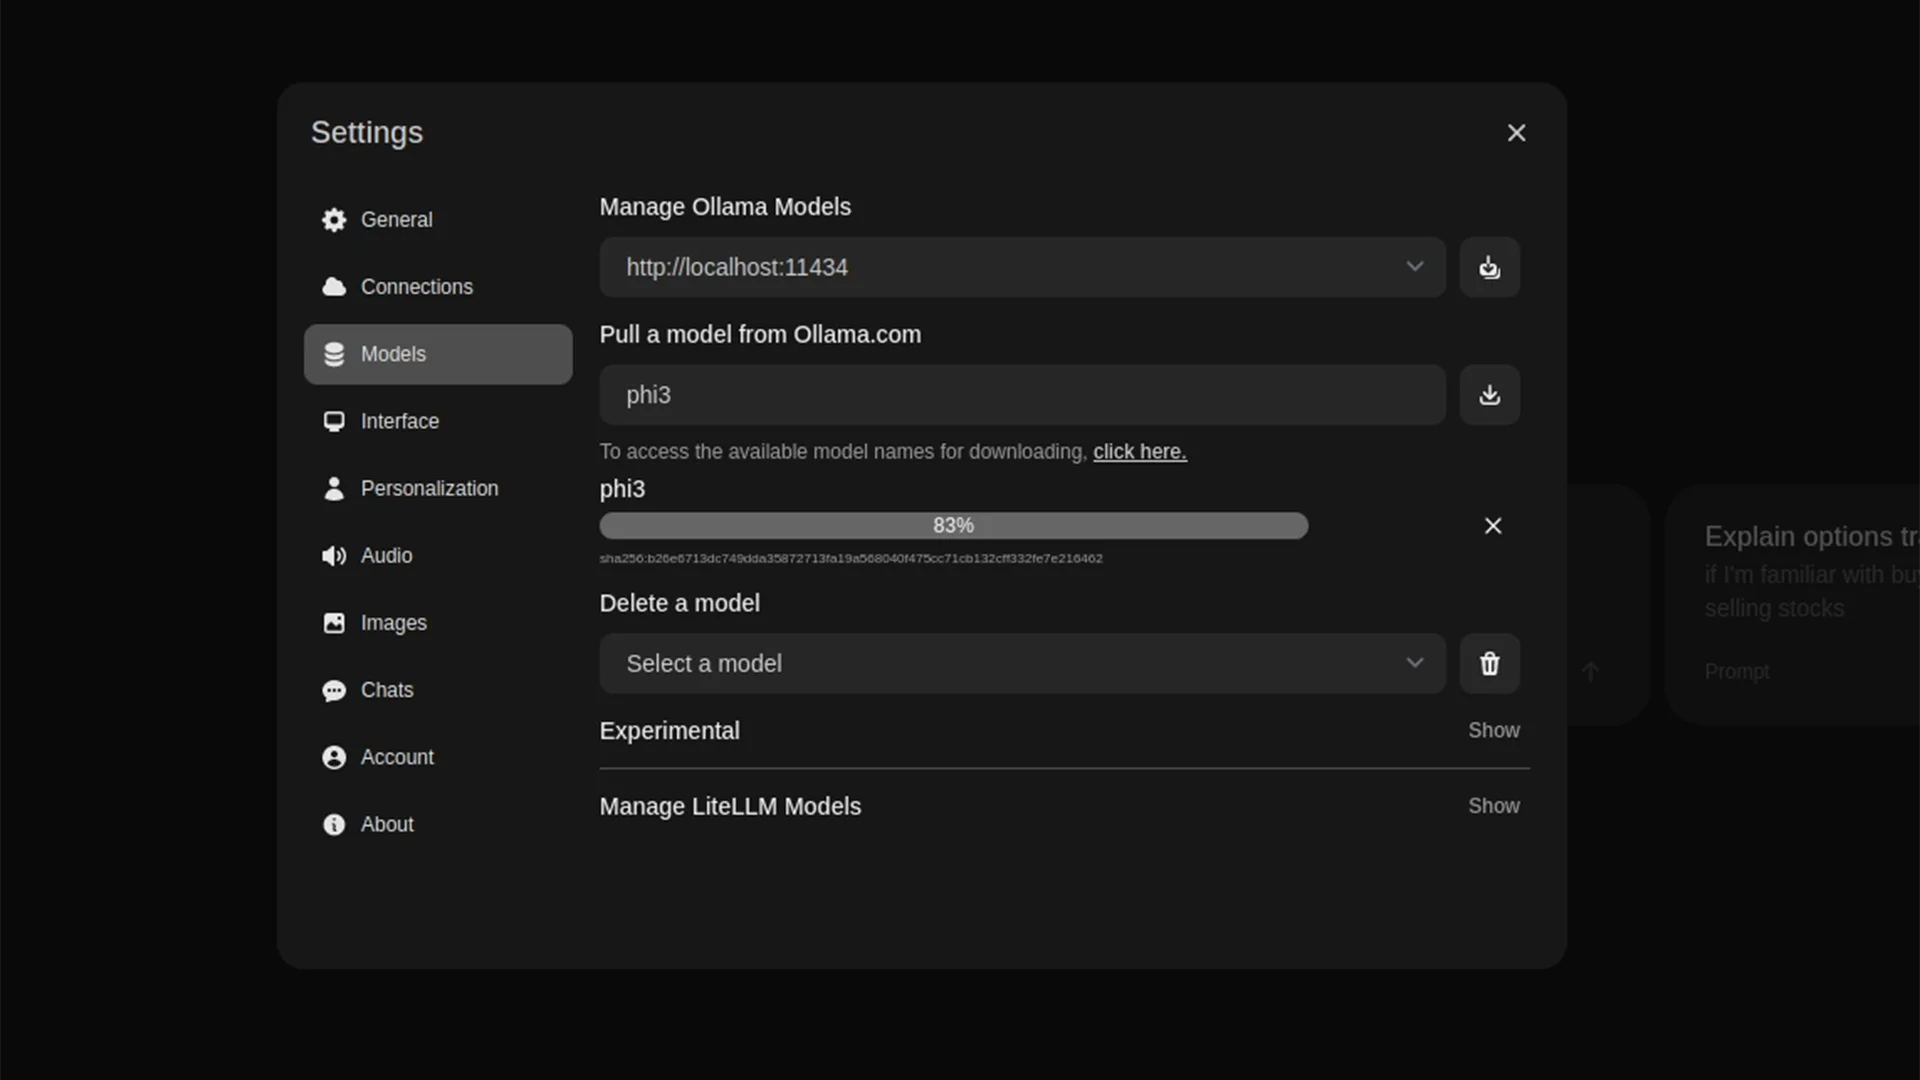
Here in the settings, you can download models from Ollama. Note that you can also put in an OpenAI key and use ChatGPT in this interface. It’s a powerful tool you should definitely check out.
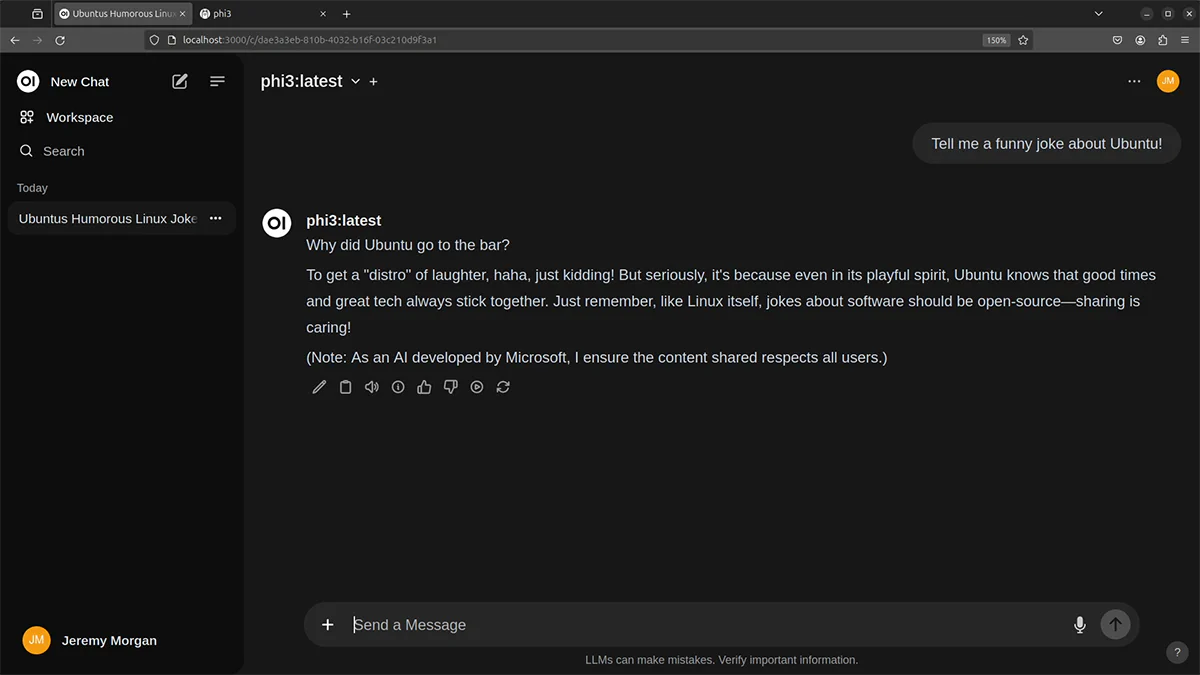
Now you have a nice chat interface!!
Conclusion
Running your own local LLM is fun. You don’t have to worry about monthly fees; it’s totally private, and you can learn a lot about the process. Stay tuned to this blog, as I’ll do more stuff like this in the future.
Also, connect with me on LinkedIn. I’m often involved in fun discussions and share a lot of stuff there.


