


The Ultimate Guide to Running Local LLMs on Your Mac

Jeremy Morgan 
Sep 30, 2024 - 5 min read
Last Update: Sep 30, 2024
I wrote a book! Check out A Quick Guide to Coding with AI.
Become a super programmer!
Learn how to use Generative AI coding tools as a force multiplier for your career.
Hello AI enthusiasts! Want to run LLM (large language models) locally on your Mac? Here’s your guide! We’ll explore three powerful tools for running LLMs directly on your Mac without relying on cloud services or expensive subscriptions.
Whether you are a beginner or an experienced developer, you’ll be up and running in no time. This is a great way to evaluate different open-source models or create a sandbox to write AI applications on your own machine.
We’ll go from easy to use to a solution that requires programming.
Products we’re using:
- LM Studio: User-Friendly AI for Everyone
- Ollama: Efficient and Developer-Friendly
- Hugging Face Transformers: Advanced Model Access
If you’d rather watch a video of this tutorial, here it is!
1. LM Studio: User-Friendly AI for Everyone
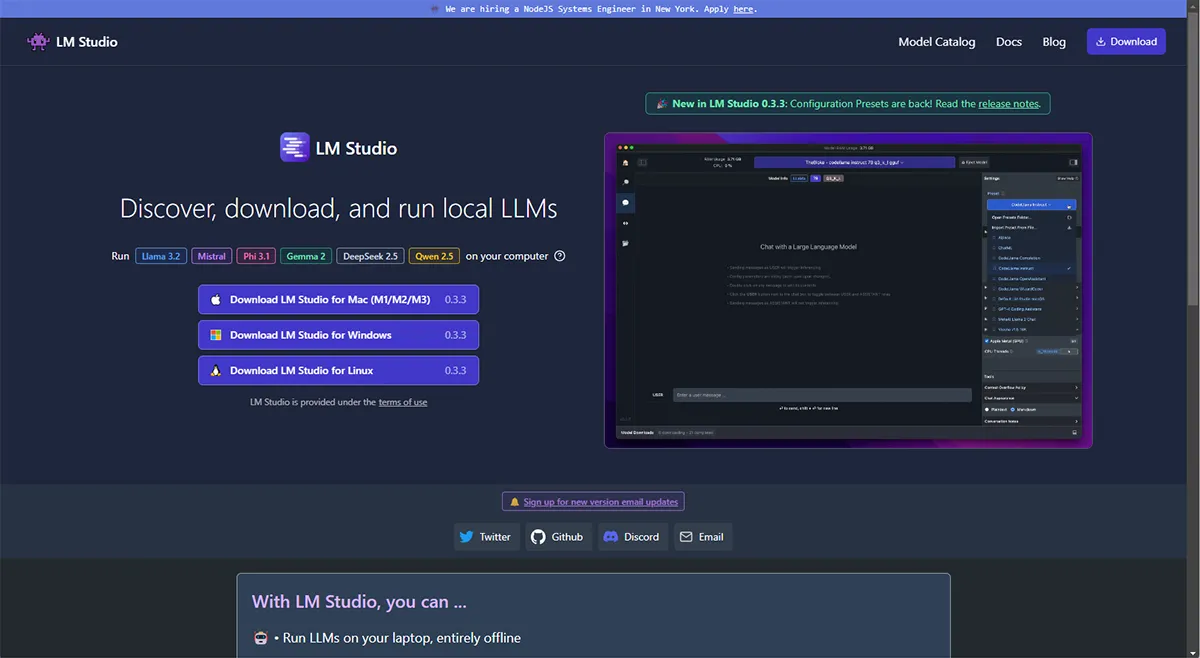
LM Studio is an excellent starting point for both beginners and experts. It provides an intuitive interface for exploring and using various AI models.
Getting Started with LM Studio
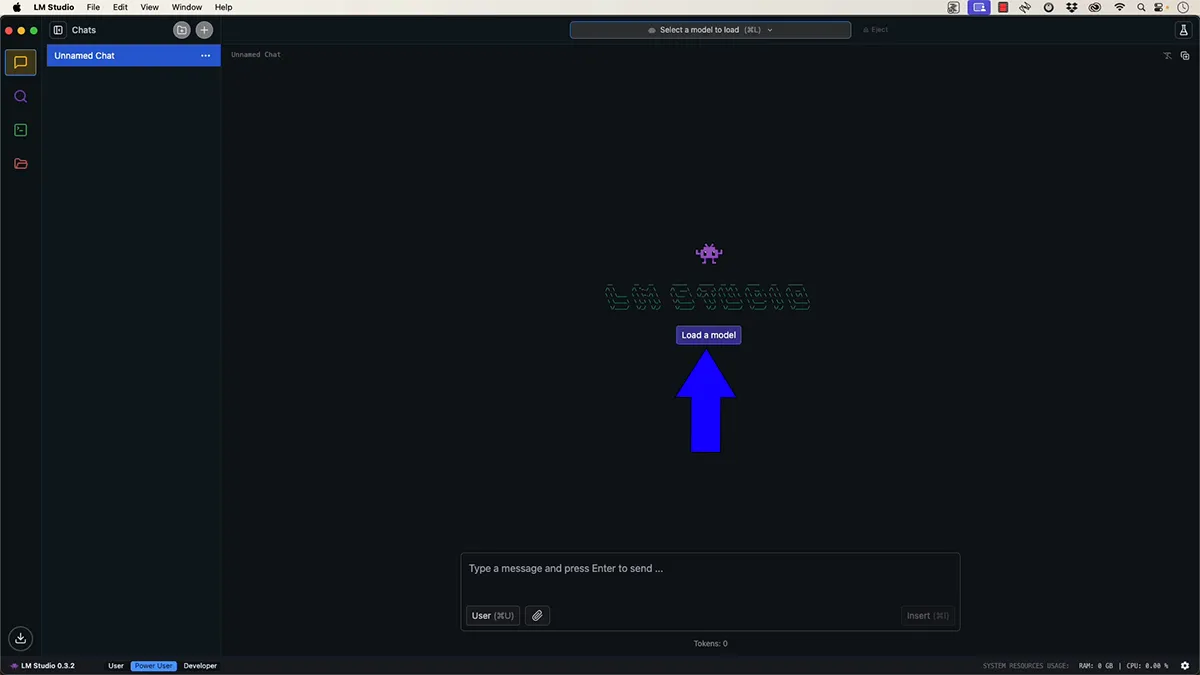
- Visit lmstudio.ai and download the appropriate version for your Mac.
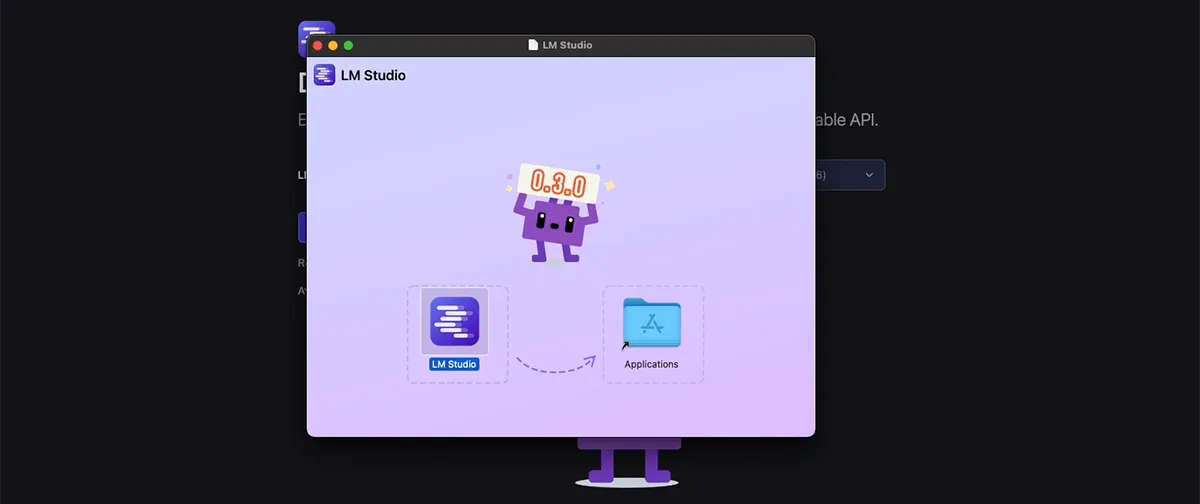
- Install LM Studio by dragging the downloaded file into your Applications folder.
- Launch LM Studio and accept any security prompts.
Exploring Models
- In the main interface, click “Load a model” or select a model from the “New and Noteworthy” list.
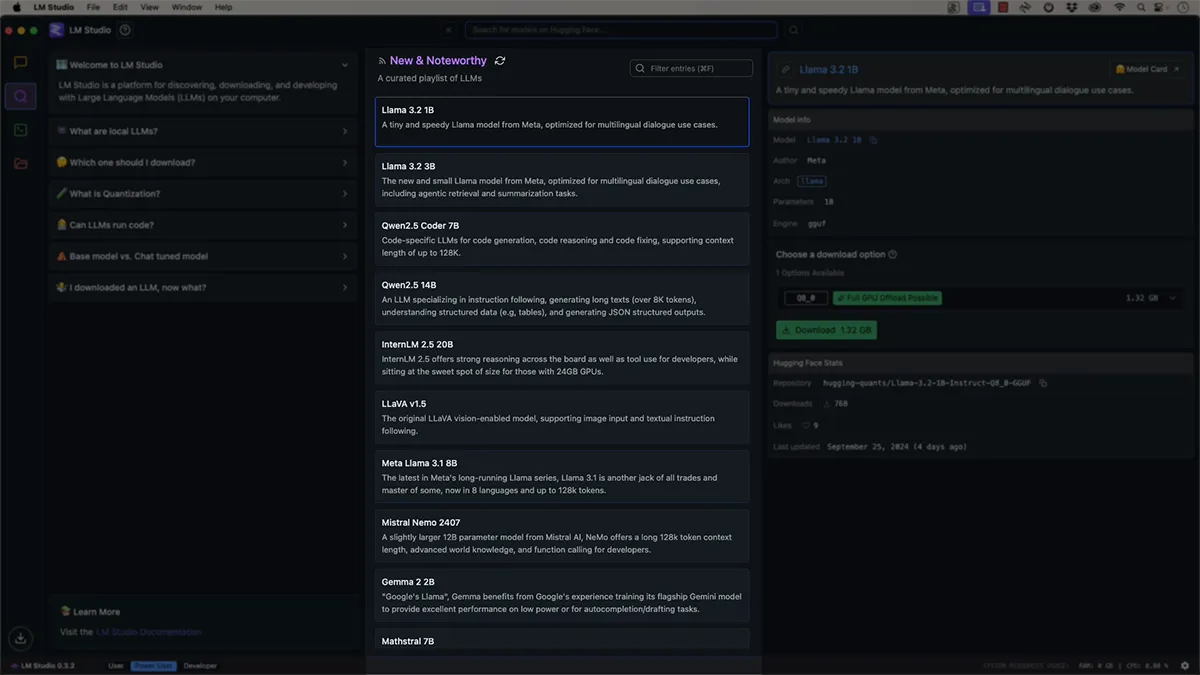
- we’ll use the “llama2 3B” model for this tutorial. Click on it to download.
- Once downloaded, click “Load model” to activate it.
Using the Chat Interface
- With the model loaded, you can start interacting with it in the chat interface.
- Try asking a question like “Tell me a funny joke about Python.”
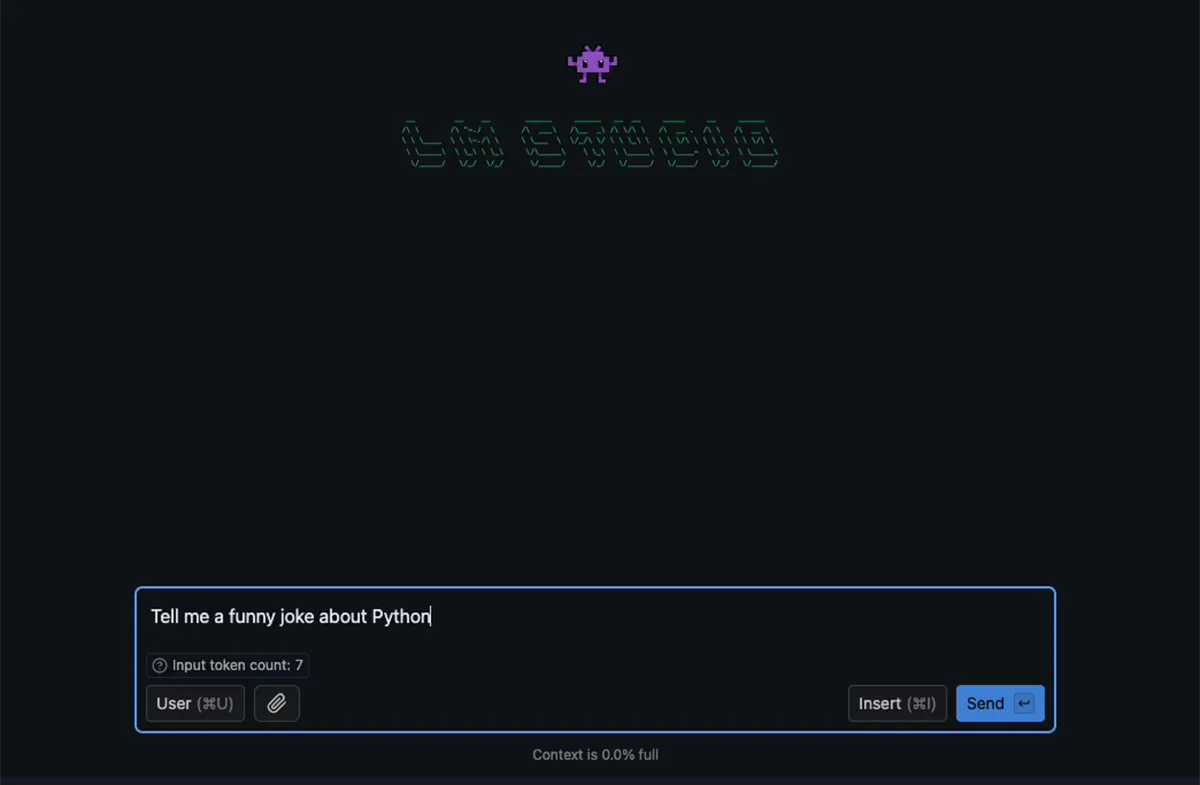
- Observe the model’s response and the performance metrics (tokens per second, context usage).

Utilizing the API Server
LM Studio also provides an OpenAI-compatible API server, making it easy to integrate with your applications:
Click on the server icon in the left sidebar.
Start the server by clicking the “Start Server” button.
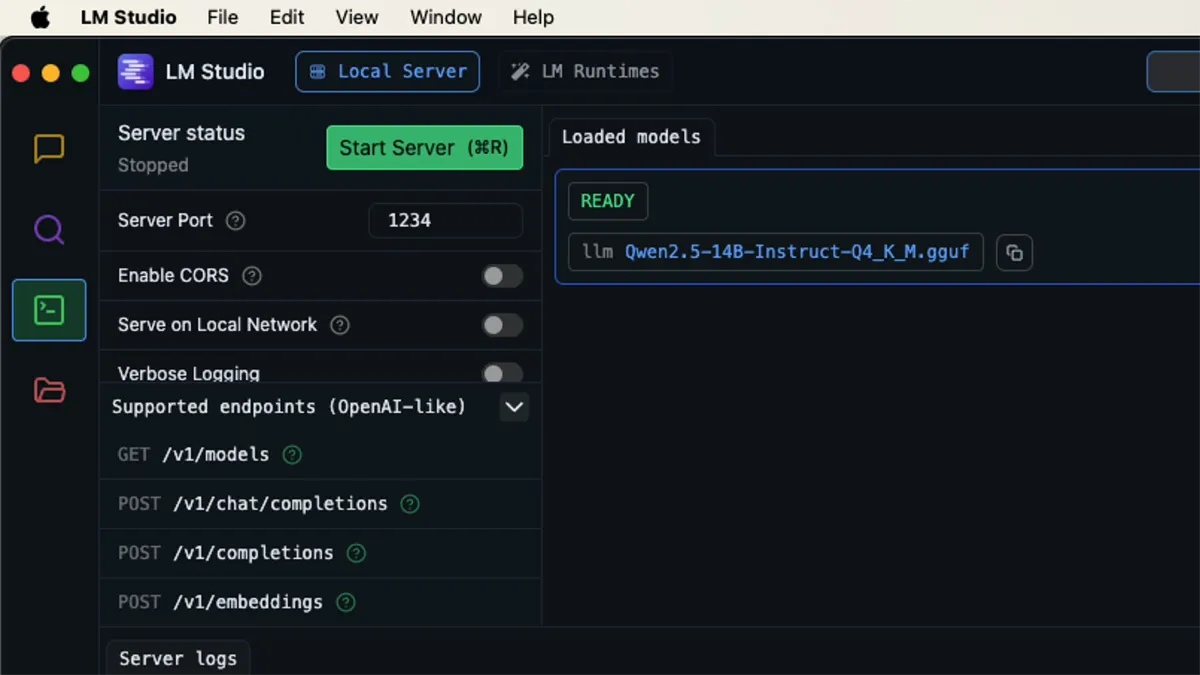
Copy the provided server address (usually
http://localhost:1234).
You can see a set of endpoints available:
GET http://localhost:1234/v1/models
POST http://localhost:1234/v1/chat/completions
POST http://localhost:1234/v1/completions
POST http://localhost:1234/v1/embeddings
You can now use this address to send requests to the model using tools like Postman or your own code. Here’s an example using Postman:
- Create a new POST request to
http://localhost:1234/v1/chat/completions. - Set the body to raw JSON with the following content:
{
        "model": "lmstudio-community/Qwen2.5-14B-Instruct-GGUF/Qwen2.5-14B-Instruct-Q4_K_M.gguf",
        "messages": [
            {
                "role": "system",
                "content": "You are a helpful jokester who knows a lot about Python"
            },
            {
                "role": "user",
                "content": "Tell me a funny Python joke."
            }
        ],
        "response_format": {
            "type": "json_schema",
            "json_schema": {
                "name": "joke_response",
                "strict": "true",
                "schema": {
                    "type": "object",
                    "properties": {
                        "joke": {
                            "type": "string"
                        }
                    },
                    "required": [
                        "joke"
                    ]
                }
            }
        },
        "temperature": 0.7,
        "max_tokens": 50,
        "stream": false
    }
- Send the request and observe the model’s response.
LM Studio is perfect for quickly testing different models and integrating them into your projects with minimal setup.
2. Ollama: Efficient and Developer-Friendly
Ollama is a lightweight and powerful tool for deploying LLMs, which is ideal for developers who prefer working from the command line.
Installing Ollama
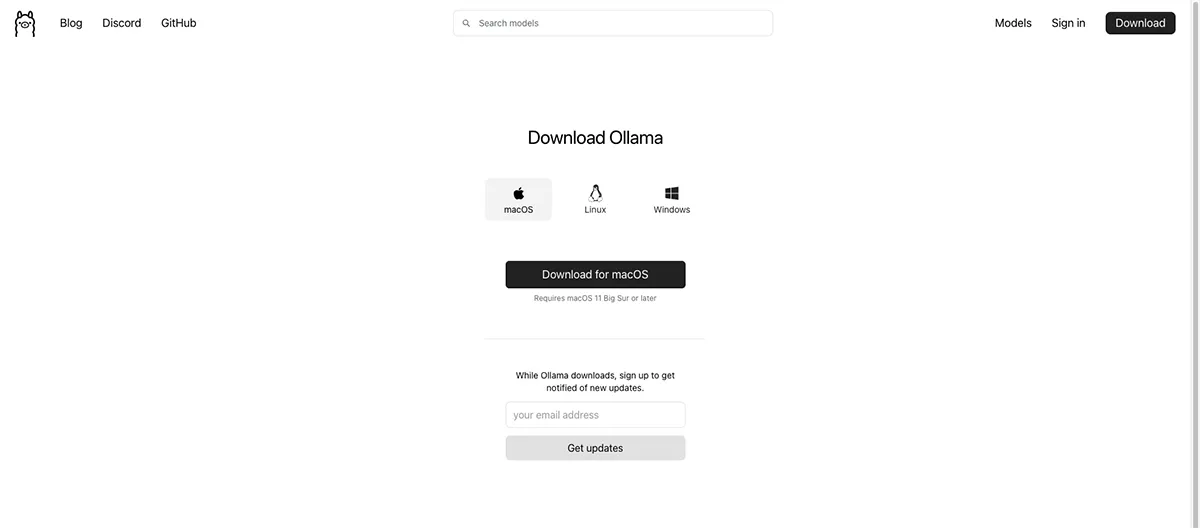
- Visit the Ollama website and download the Mac version.
- Install Ollama by dragging the downloaded file into your Applications folder.
- Launch Ollama and accept any security prompts.
Using Ollama from the Terminal
- Open a terminal window.
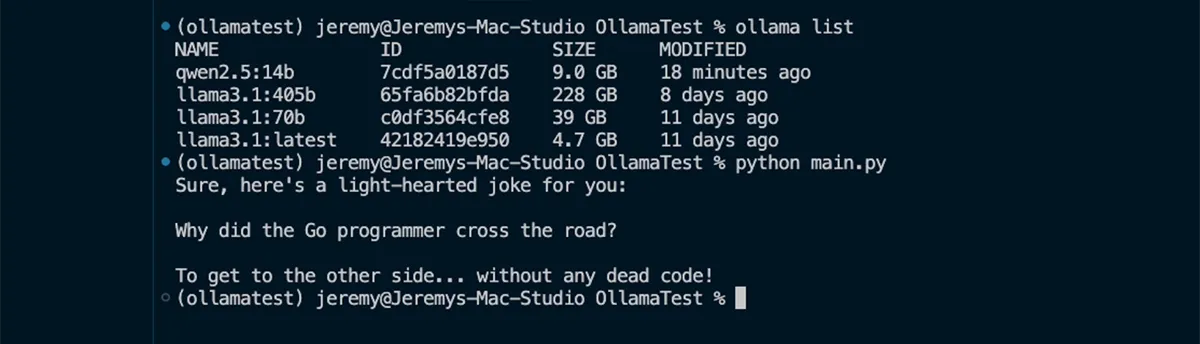
- List available models by running:
Ollama list
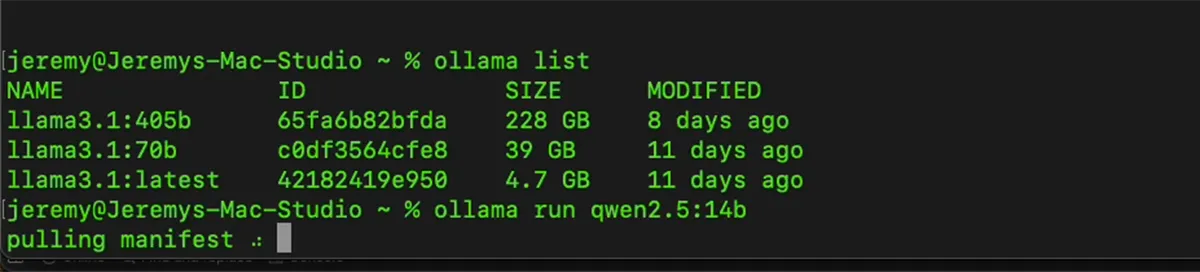
To download and run a model, use:
Ollama run <model-name>For example:Ollama run qwen2.5-14bOnce the model is loaded, you can interact directly with it in the terminal.
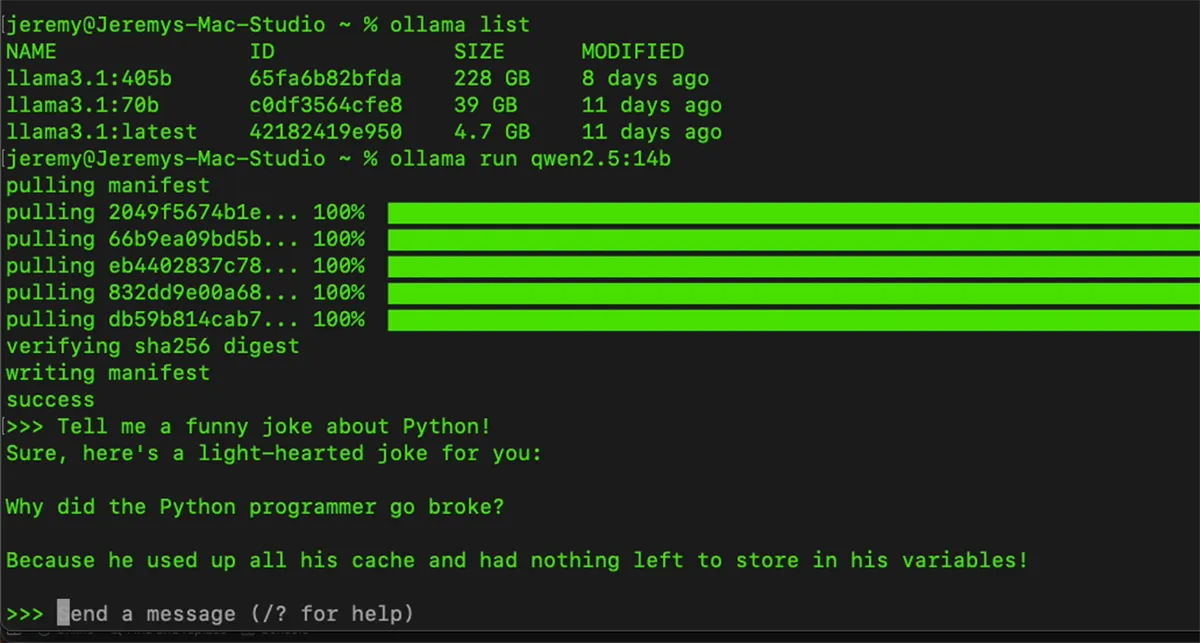
Ollama Commands and Features
- Use
/?to see available commands within a model session. - Exit a model session with
/bye. - Run models with verbose output using
--verboseflag.
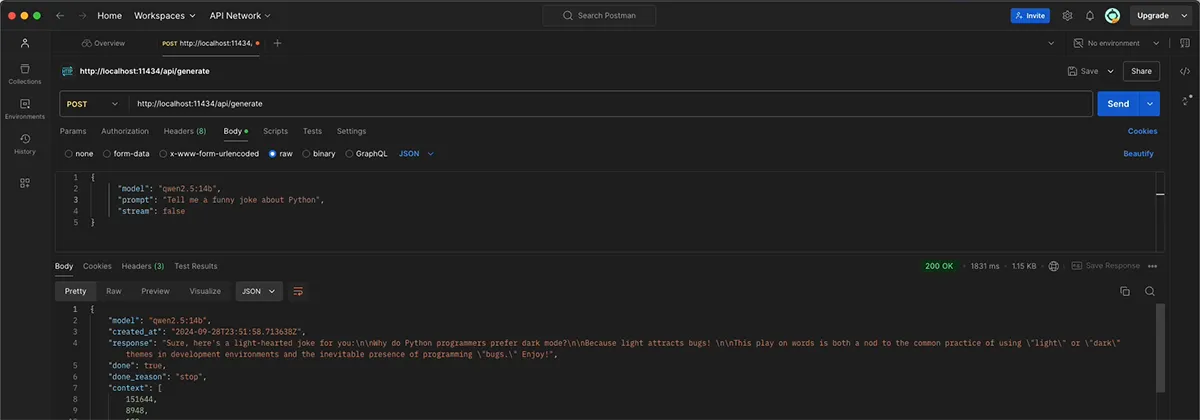
Using Ollama’s API
Ollama also provides an API for integration with your applications:
- Ensure Ollama is running (you’ll see the icon in your menu bar).
- Send POST requests to
http://localhost:11434/api/generate.
Example using Postman:
{
      "model": "qwen2.5:14b",
      "prompt": "Tell me a funny joke about Python",
      "stream": false
}
Ollama Python Library
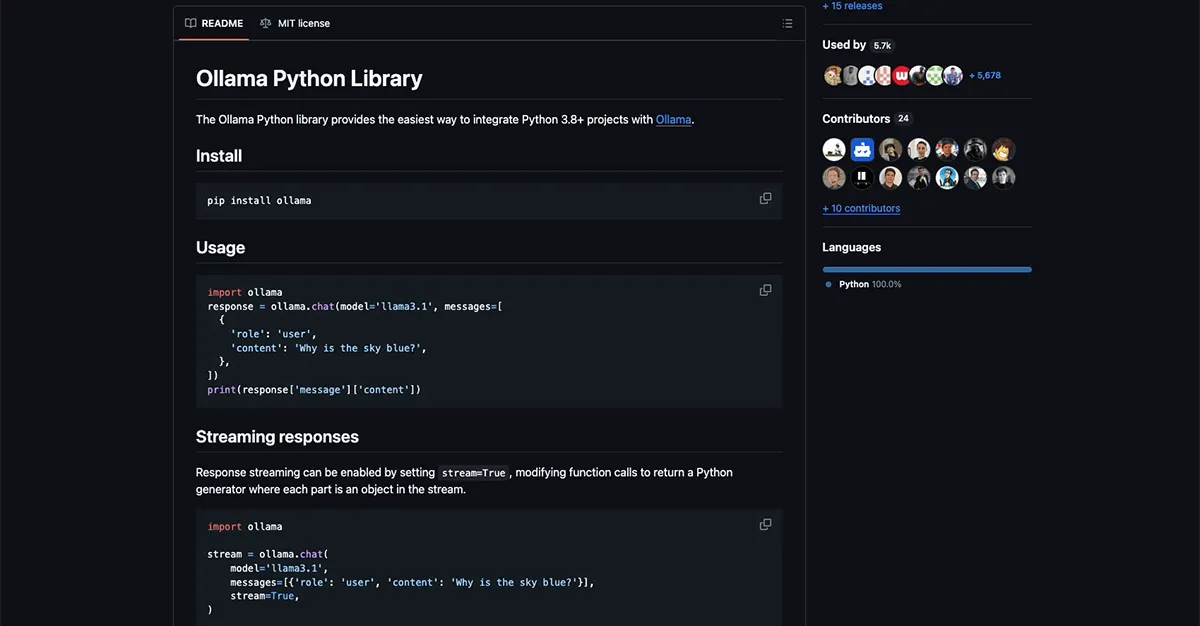
For Python developers, Ollama offers a convenient library:
- Install the library:
pip install ollama - Use it in your Python scripts:
import ollama
response = ollama.chat(model='qwen2.5:14b', messages=[
  {
    'role': 'user',
    'content': 'Tell me a funny joke about Golang!',
  },
])
print(response['message']['content'])
Ollama provides a great balance between ease of use and flexibility, making it an excellent choice for developers building AI-powered applications.
3. Hugging Face Transformers: Advanced Model Access
Hugging Face Transformers is a powerful library that gives you access to many models and more control over their usage.
Setting Up Hugging Face Transformers
Create a new Python virtual environment:
python -m venv env source env/bin/activateInstall required libraries:
pip install torch transformers accelerateInstall Hugging Face CLI:
pip install -U huggingface_hub[cli]Log in to Hugging Face:
huggingface-cli login(You’ll need to create a user access token on the Hugging Face website)
Using a Model with Transformers
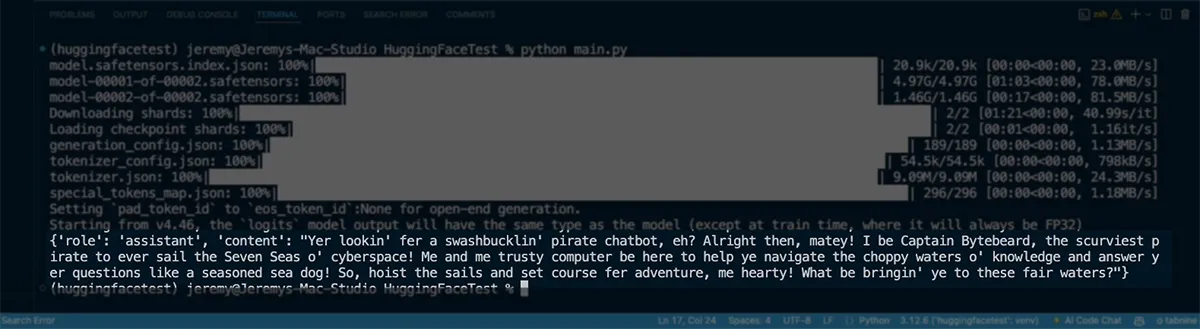
Here’s a simple example using the LLaMA 3.2 3B model:
import torch
from transformers import pipeline

model_id = "meta-llama/Llama-3.2-3B-Instruct"
pipe = pipeline(
    "text-generation",
    model=model_id,
    torch_dtype=torch.bfloat16,
    device_map="auto",
)
messages = [
    {"role": "system", "content": "You are a pirate chatbot who always responds in pirate speak!"},
    {"role": "user", "content": "Who are you?"},
]
outputs = pipe(
    messages,
    max_new_tokens=256,
)
print(outputs[0]["generated_text"][-1])
Advantages of Hugging Face Transformers
- Access to a vast library of models
- Fine-grained control over model parameters
- Ability to fine-tune models for specific tasks
- Integration with popular deep learning frameworks
While Hugging Face Transformers requires more coding knowledge, it offers unparalleled flexibility and access to cutting-edge AI models.
Conclusion

We’ve explored three powerful tools for running AI models locally on your Mac:
- LM Studio: Perfect for beginners and quick experimentation
- Ollama: Ideal for developers who prefer command-line interfaces and simple API integration
- Hugging Face Transformers: Best for advanced users who need access to a wide range of models and fine-grained control
Each tool has its strengths, and the choice depends on your specific needs and technical expertise. By running these models locally, you gain more control over your AI applications, ensure data privacy, and avoid the costs associated with cloud-based services.
Consider your Mac’s specifications when working with larger models, as they can be resource-intensive. Start with smaller models and work up as you become more familiar with the tools and your hardware capabilities.
Happy coding, and enjoy exploring the world of local AI on your Mac!
