Installing Stable Diffusion 3.5 Locally: Step-by-Step Guide for Creating Stunning AI Art on Your own Machine
Last Update: Oct 25, 2024
I wrote a book! Check out A Quick Guide to Coding with AI.
Become a super programmer!
Learn how to use Generative AI coding tools as a force multiplier for your career.
Hey there, fellow AI geeks. Ever wanted to create stunning AI-generated images on your local machine without relying on third-party services? You’re in luck! This is something we’ve done many times on this site, setting up Stable Diffusion XL and even generating AI videos with Stable Diffusion. We will do it again today with the latest and greatest image generation software you can run on your machine.
Stability AI just released Stable Diffusion 3.5, so of course, we have to check it out.
I love using tools like Midjourney and Leonardo, and it’s satisfying and educational to set this stuff up on your local machine. In this guide, we’re diving into how to install Stable Diffusion 3.5—a cutting-edge text-to-image AI model—right on your machine. Whether you’re an artist, developer, or AI enthusiast, this tutorial will help you get Stable Diffusion 3.5 up and running in no time. So grab your beverage of choice, and let’s dive right in!
Here’s what we’ll do:
- Set Up Prerequisites – We’ll guide you through installing essential tools.
- Downloading Stable Diffusion 3.5 Models – Learn how to securely get the latest model files.
- Installing Required Python Libraries – We’ll ensure your environment is AI-ready with all the necessary Python libraries.
- Running Stable Diffusion Locally – Finally, you’ll generate your first AI image from your machine!
- Tuning the steps parameter - We’ll show how adjusting steps can make a difference in your outputs
- Comparing SD 3.5 Large and 3.5 Large Turbo - We’ll compare the models and see which is best for you.
Sound exciting? Let’s get started.
Step 1: Have a good GPU Handy!
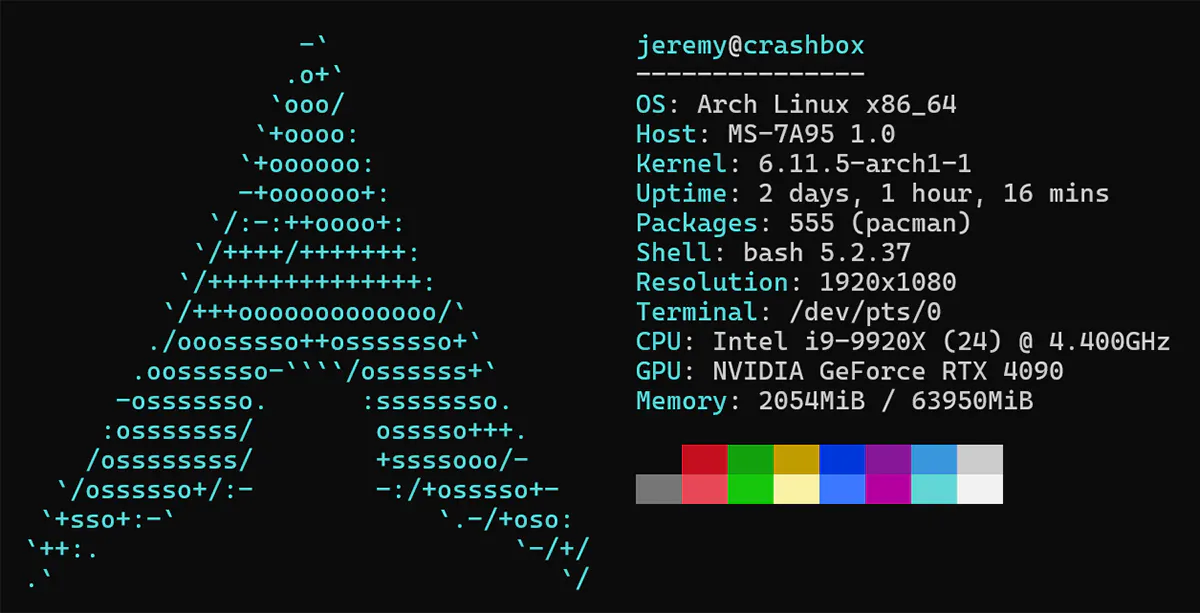
Here’s the machine I’m working with:
And more details about the card:
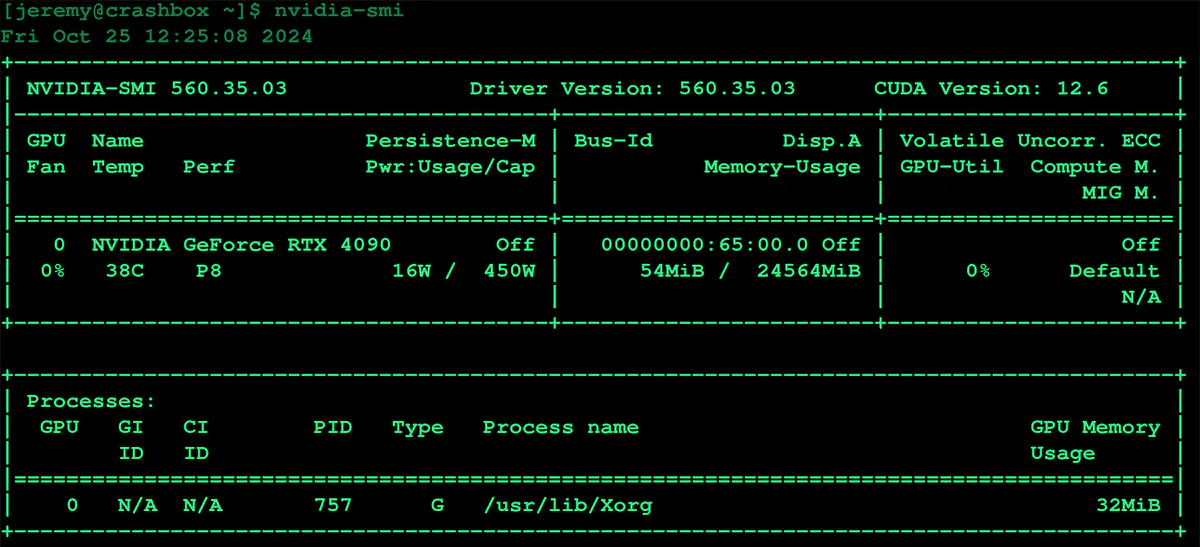
This machine uses an RTX 4090. I tried to get it working with an RTX 4080 Laptop GPU with 12G of RAM, but it didn’t work. Using these methods, I’m guessing you need at least an RTX with 24G of VRAM for this. I can’t say for sure; I’ll play around with it soon and see if I can also get it working on other hardware.
I can run SD3 Medium on that GPU just fine, so if they release a 3.5 medium model that will likely work with smaller machines.
Installation
git clone https://github.com/Stability-AI/sd3.5.git && cd sd3.5
Then create a Python Virtual Environment:
python3 -m venv stablediff
source stablediff/bin/activate
Install the requirements:
pip install -r requirements.txt
It should look like this when it’s done.

Choose a model
in the folder:
mkdir models
From the instructions:
Download these models from HuggingFace into the models directory:
Use this model if you have >32G of RAM: Google T5-XXL
If you have limited resources use this: Google T5-XXL
You must rename the Google T5-XXL model you chose to ’t5xxl.safetensors’. This isn’t clear in any of the instructions, but if don’t you’ll get the error:
with safe_open("models/t5xxl.safetensors", framework="pt", device="cpu") as f:
 ^^^^^^^^^^^^^^^^^^^^^^^^^^^^^^^^^^^^^^^^^^^^^^^^^^^^^^^^^^^^^^^^^^^
FileNotFoundError: No such file or directory: "models/t5xxl.safetensors"
So whichever model you choose (t5xxl_fp16.safetensors or t5xxl_fp8_e4m3fn. safe-tensors), download it and rename it t5xxl. safetensors in the models folder.
Get Permission
You will need to get permission to use these:
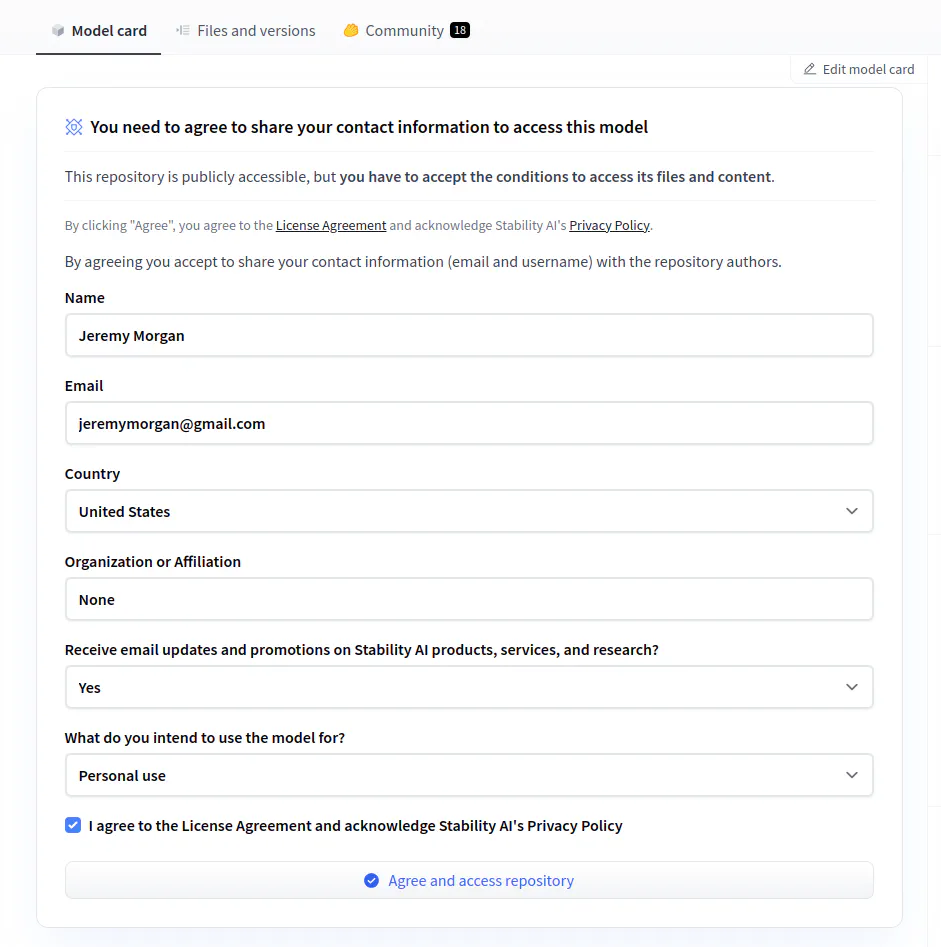
And remember you can always run inferendce from Hugging Face to try it out:
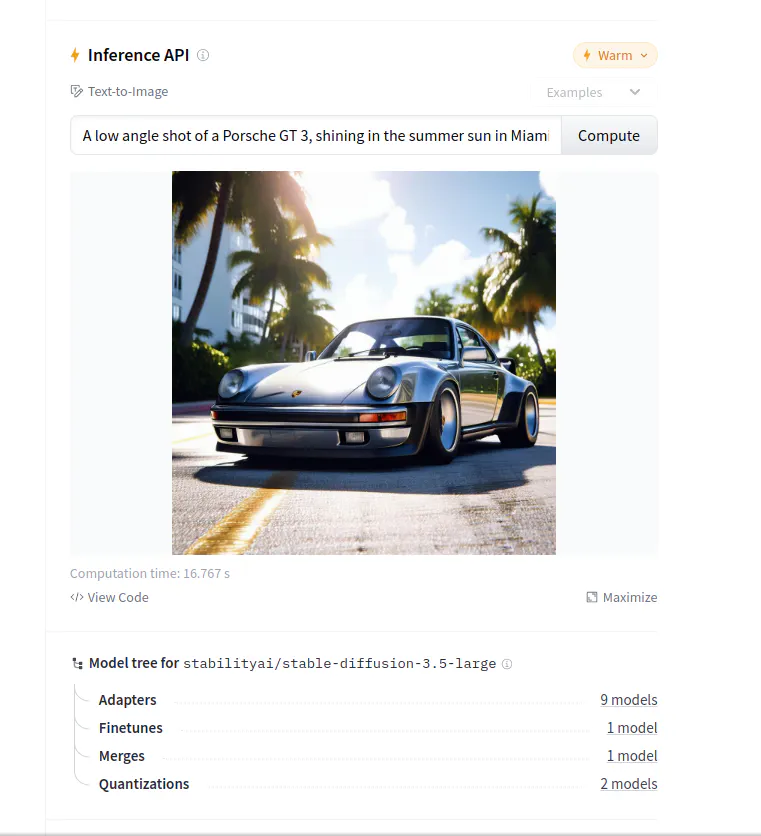
So then go to files and versions and download the appropriate model above.
Run the Scripts
So for my application, I chose Stability AI SD3.5 Large and Google T5-XXL
To run a text to image, run the sd3_infer.py script and pass a prompt with --prompt like this:
python3 ./sd3_infer.py --prompt "A giant teapot floating in space, with Earth in the distant background."
It will go through the following steps
- Load tokenizers
- Load OpenAI Clip L
- Load OpenClip bigG
- Load Google T5-v1-XXL
- Load Stable Diffusion 3.5 Large model
- Load VAIE model
- Save image
Once completed it should look something like this:

The file will be generated and placed in the output/sd3.5_large directory with a folder that matches your prompt:

It’s a little strange, but it works. Here’s my result:
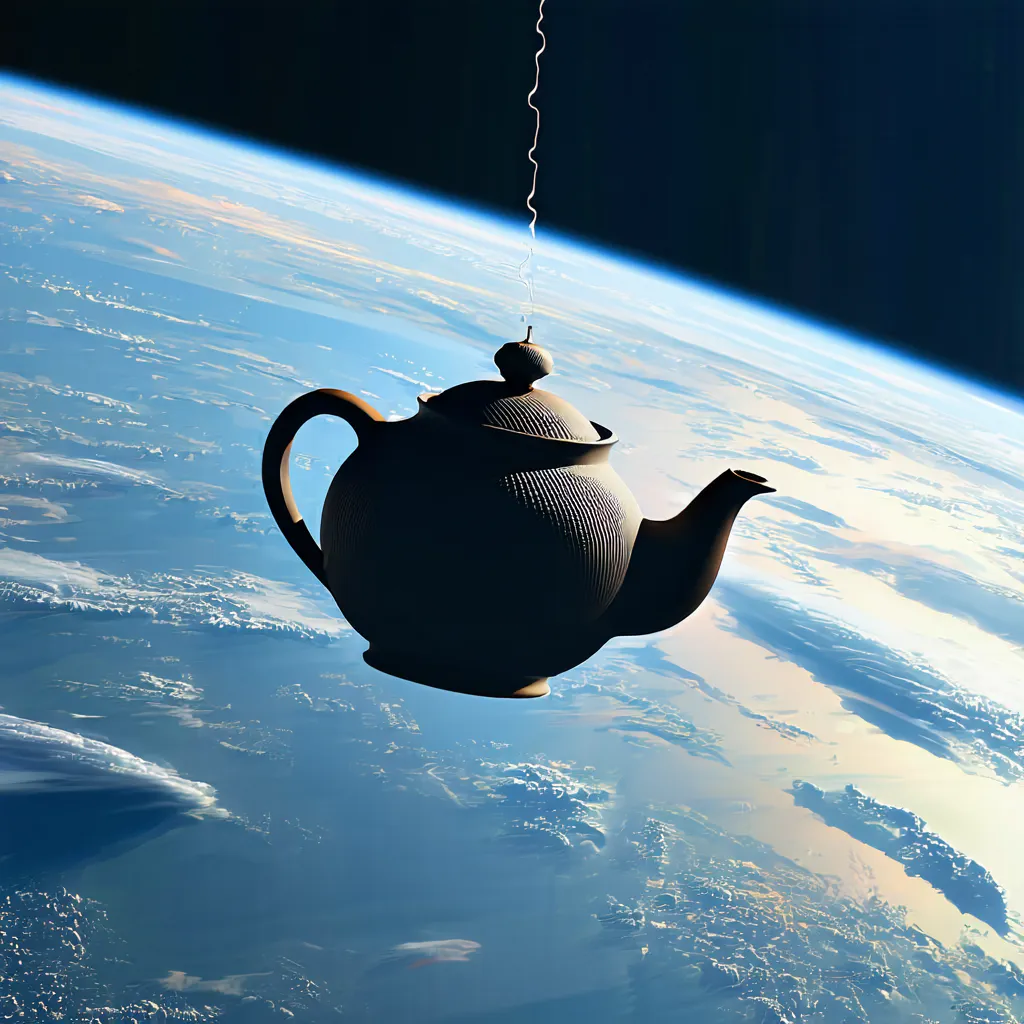
That’s pretty impressive if you ask me. Let’s look at some options we can change with the output image.
Parameter Tweaking - Setting Steps
You can change the amount of steps used to generate the image with:
--steps 100
This gives you some options for choosing the number of steps the refiner will take. Let’s explore what this really means.
What is --steps?
In Stable Diffusion, the --steps parameter controls the number of steps the model takes to transform random noise into a fully formed image. Think of how many “passes” the AI makes over the image to smooth things out and add detail. The more steps, the more refined the final result. It’s like sculpting — the more time you spend chiseling, the more detailed your sculpture gets. But it also takes longer.
How does it work?
Imagine you’re starting with static noise, like the snow on an old TV screen. Each diffusion process step removes some noise, gradually revealing a more precise image. The number of steps you set controls how many refinements happen before you get your final image. Fewer steps mean the AI stops earlier, while more steps mean it keeps refining for longer, potentially resulting in a more detailed image.
Let’s look at what happens with different settings:
- Low Step Values (20-50 steps): The model works quickly, but the results might be rough around the edges. Think of it as a first draft — it’s fast but might not have all the details you want.
- Medium Step Values (100-150 steps): This is where the magic happens for most use cases. The image will be well-refined and detailed without taking forever to generate.
- High Step Values (150+ steps): Going above 150 steps can give you even more refinement, but there’s a point of diminishing returns. You might not notice much improvement after a certain number of steps, even though the processing time continues to increase.
Common Settings and Use Cases
Here’s how you might use the --steps parameter based on what you’re trying to achieve:
- –steps 50: Quick and dirty. Great for previewing or when you just need a rough idea of what the final image will look like. It’s fast, but the image might look unfinished or noisy.
- –steps 100: This is the sweet spot for most people. It balances speed and quality, giving you a well-detailed image without taking forever.
- –steps 150+: Go big or go home! If you’re working on something highly detailed or need the absolute best quality, bump up the steps. Just be prepared for longer processing times.
Things to Keep in Mind
- Quality vs. Speed: Higher steps give you better quality but take longer. If you’re experimenting and don’t need perfect images immediately, use lower steps to save time. Then, once you’ve got a prompt you like, increase the steps for a more polished result.
- Diminishing Returns: Once you go past 100-150 steps, you may not notice much difference in quality. Sure, the model is still working, but it’s more like fine-tuning details that might not even be noticeable. So, pushing to 500 steps? Probably not worth the wait unless you’re after perfection!
Demonstration
Let’s play around with steps, see what the effect is on the image, and see how long it takes to generate it.
50 Steps
We’ll start with 50 steps and see what it looks like. Here’s my prompt:
python3 ./sd3_infer.py --prompt "low angle professional shot of a maroon 2005 Mustang GT in a neon city at night. shot on a Sony DSLR, 50mm lens f/2.8, ultra detailed" --steps 50
Here’s the result:
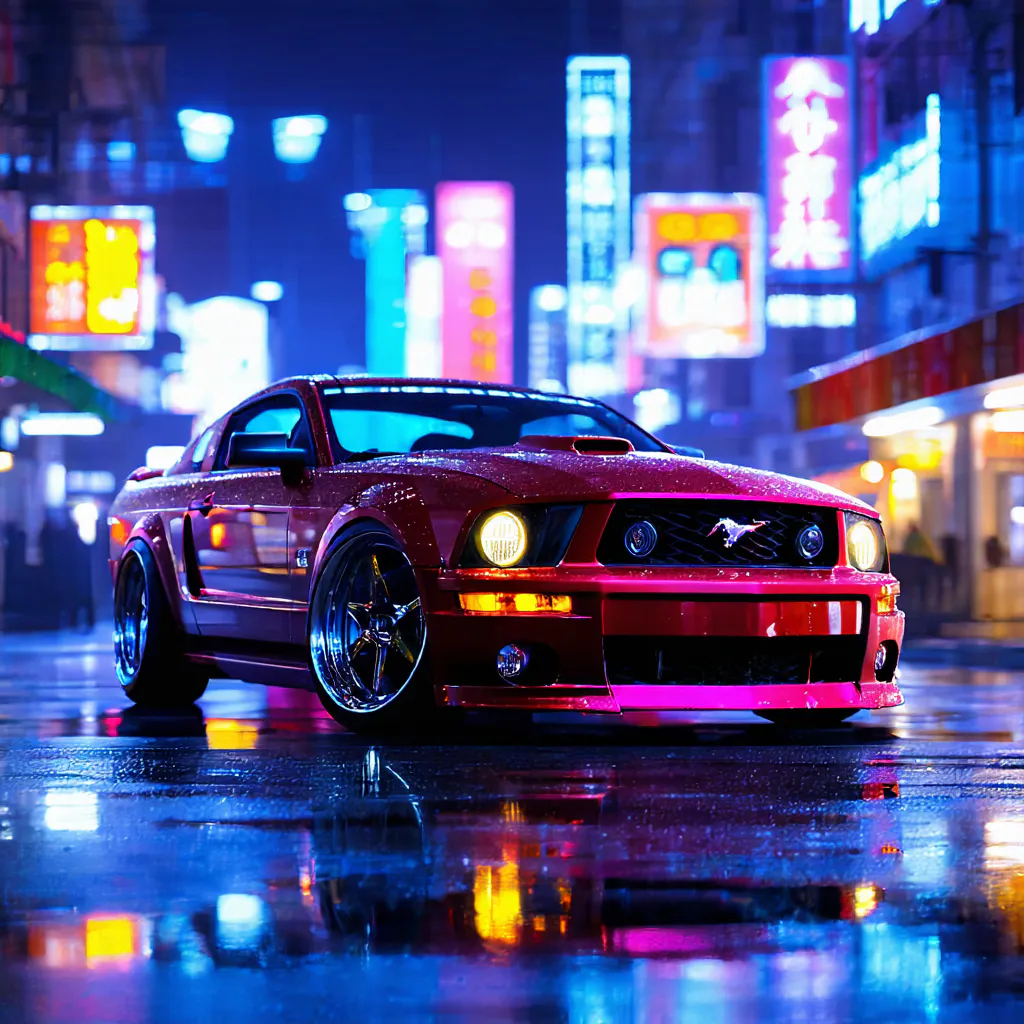
This image was generated in 1 minute, 59.259 seconds. And honestly, it doesn’t look bad at all. It’s perfectly acceptable. Let’s shoot for the higher end.
150 Steps
python3 ./sd3_infer.py --prompt "low angle professional shot of a maroon 2005 Mustang GT in a neon city at night. shot on a Sony DSLR, 50mm lens f/2.8, ultra detailed" --steps 150
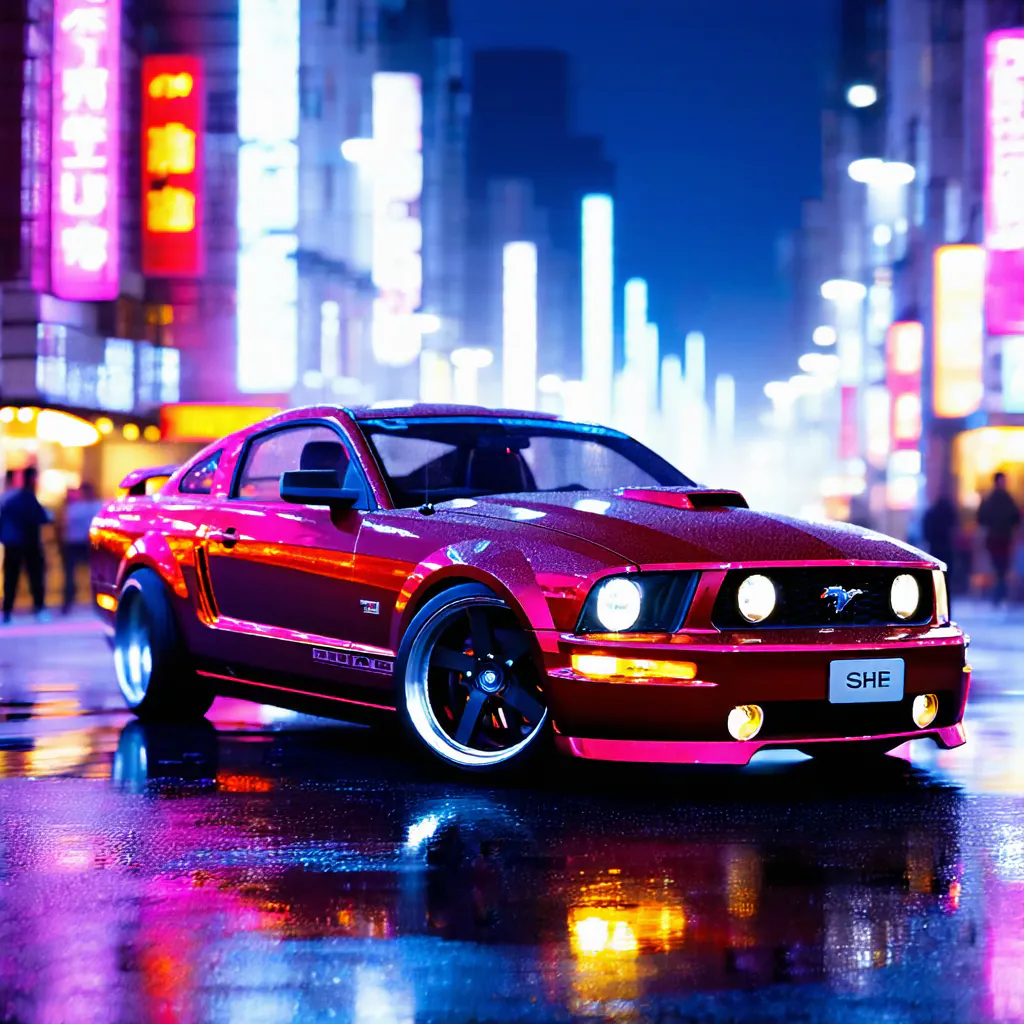
This image was generated in 2 minutes, 55.440 seconds.
So it took a bit longer and looks about the same. Maybe not even as good as the 50 steps. Let’s drop it down to.. 5 steps!
5 Steps
python3 ./sd3_infer.py --prompt "low angle professional shot of a maroon 2005 Mustang GT in a neon city at night. shot on a Sony DSLR, 50mm lens f/2.8, ultra detailed" --steps 5
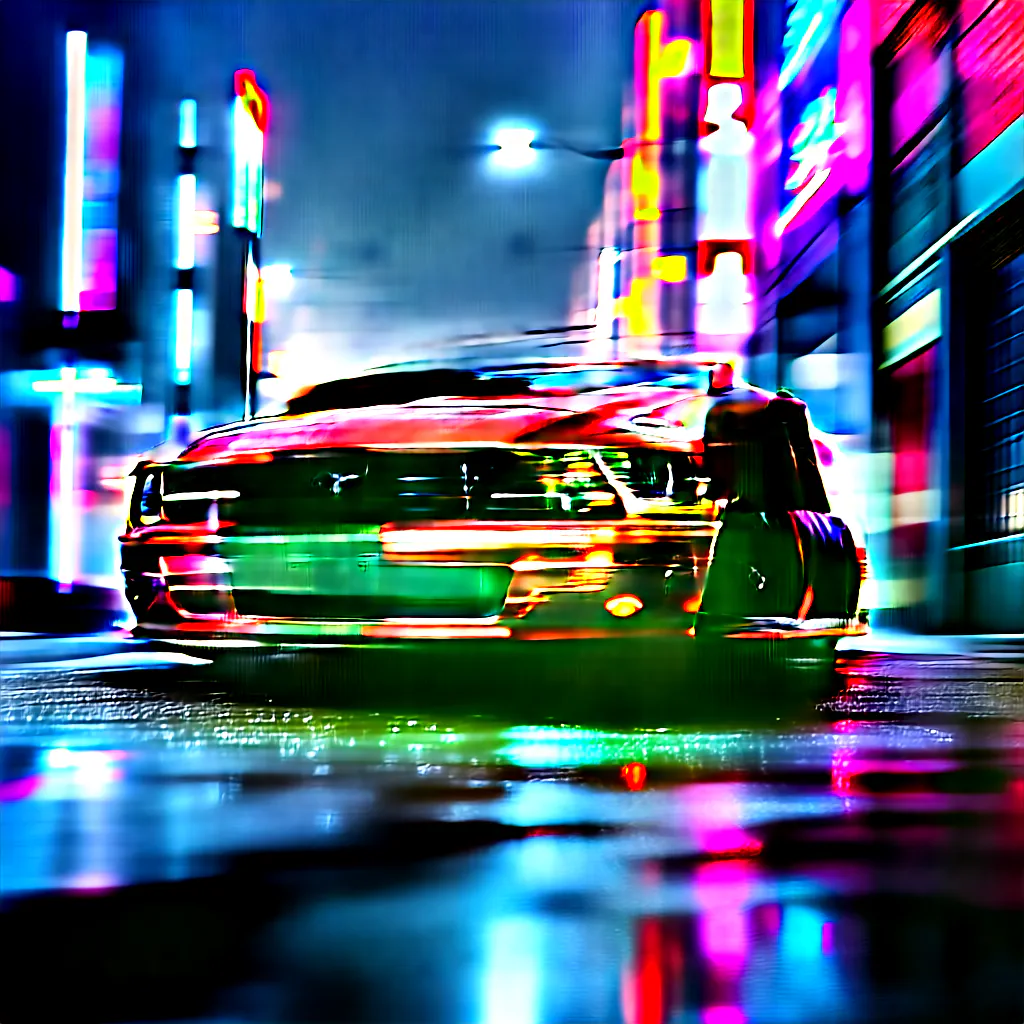
This image was generated in 1 minute, 36.037 seconds. So, there was not much time savings, but it is unusable.
I have to know what 500 steps look like. Let’s do this.
500 Steps
python3 ./sd3_infer.py --prompt "low angle professional shot of a maroon 2005 Mustang GT in a neon city at night. shot on a Sony DSLR, 50mm lens f/2.8, ultra detailed" --steps 500
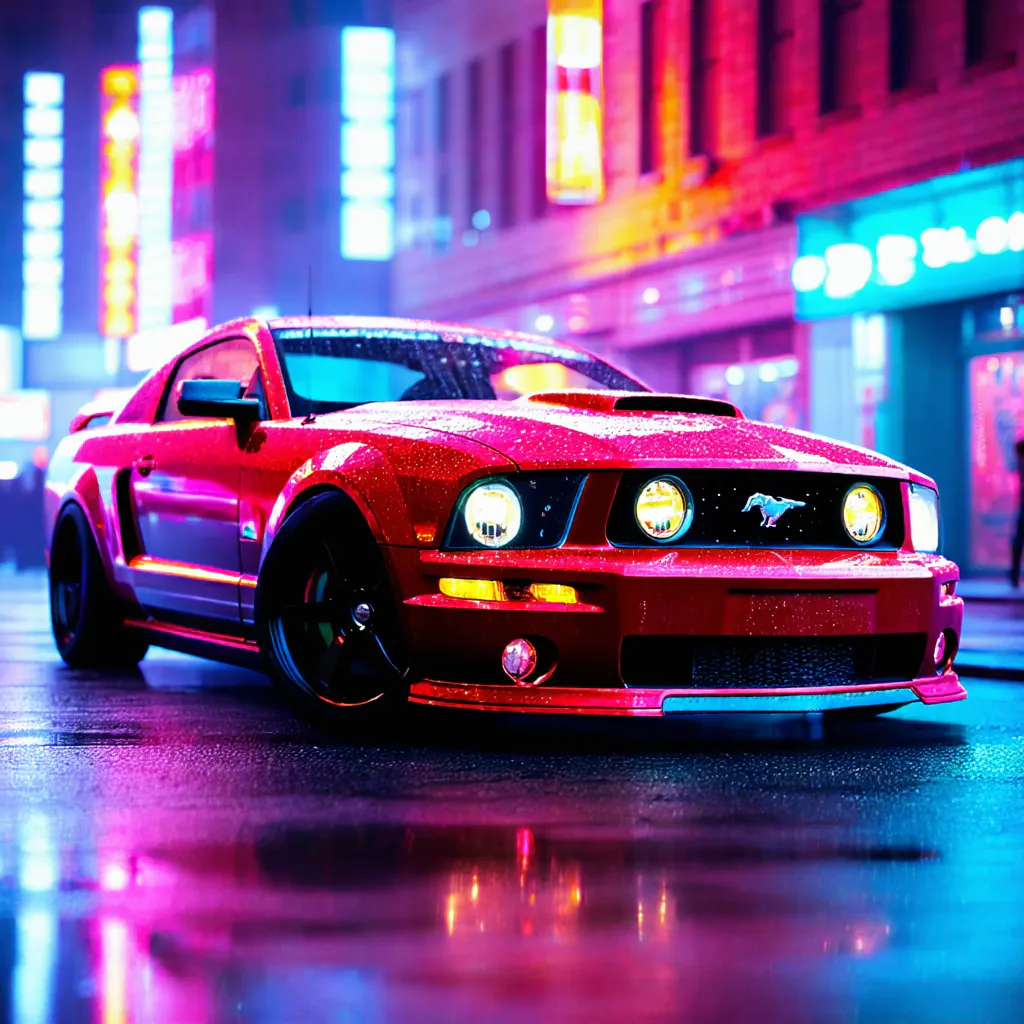
This image was generated in 6 minutes, 14.411 seconds. Looks pretty much the same. However, there will be cases where increasing the steps will help the image, so for the conclusion:
Your mileage may vary. Adjust the amount of steps when you feel like you aren’t getting what you want from Stable Diffusion.
Now, there’s a turbo model that promises to be faster. Let’s try that out!
Stability AI SD3.5 Large Turbo
Let’s load up the Stability AI SD3.5 Large Turbo model and compare quality and speed. This model promises to be faster without sacrificing quality. I say it’s worth a look!
We do this by downloading the model into our model folder and adding this to our command:
--model models/sd3.5_large_turbo.safetensors
So, let’s compare these two models.
Here’s the prompt I used:
python3 ./sd3_infer.py --prompt "Tux the linux mascot as a Jim Henson muppet" --steps 50 --model models/sd3.5_large_turbo.safetensors
3.5 Large

Time: 2m 6.236s
3.5 Large Turbo

Time: 1m 59.954s
Verdict: Turbo is faster, but the large result is better.
Let’s try another type of prompt:
python3 ./sd3_infer.py --prompt "A serene lake with clear skies and a gentle breeze, viewed from a canoe floating on the water." --steps 100
3.5 Large

Time: 2m 28.298s
3.5 Large Turbo

Time: 2m 31.652s
So this one was a little weird because the Turbo version was slower and it produced a funky-looking image. No doubt there is some tuning here, but overall
Turbo usually produces faster results, but the images aren’t as good
So naturally, you’ll need to balance what you need vs. what you’re willing to give up for time. Using something like this programmatically means you can generate hundreds or thousands of these images if you want to, or you can incorporate this into some kind of app.
Conclusion
And there you have it! If you’ve followed along, You’ve successfully installed Stable Diffusion 3.5 and generated your first AI-driven image. Pretty cool, right? By following these steps, you now have a powerful AI tool at your fingertips, and the best part is that it’s all running locally on your machine. From here, the possibilities are endless, whether you’re experimenting with art, prototyping ideas, or building new AI applications.
This is the programmatic method for developing apps and other similar applications. We set it up in Linux, but it should be the same using WSL in Windows. We’ll cover using Comfy UI and other tools in future blogs, so bookmark this page.
Do you have any questions or want to share your creations? Feel free to reach out! Until next time, happy coding, and enjoy creating with AI!
Questions? comments? Yell at me!!
Also, connect with me on LinkedIn. I’m often involved in fun discussions and share a lot of stuff there.


