Installing Ollama with Open WebUI in Arch Linux
Last Update: Jun 24, 2024
I wrote a book! Check out A Quick Guide to Coding with AI.
Become a super programmer!
Learn how to use Generative AI coding tools as a force multiplier for your career.
If you’ve read my blog enough lately, you know I’m crazy about Ollama. It’s super easy and powerful. In fact, most people I know who play with Generative AI use it. Equally cool is the Open WebUI. You can attach it to Ollama (and other things) to work with large language models with an excellent, clean user interface. You can set up a nice little service right on your desktop, or, like in my case, put together a dedicated server for private development that doesn’t rack up API fees.
Today we will combine these awesome products and make them work in Arch Linux! Let’s go!
Step 1: Update your Arch Linux system (of course)
Of course we’ll need to update the system:
sudo pacman -Syu

There’s always something with Arch right?
On to the next step: checking your NVIDIA drivers. This assumes you’re using an NVIDIA GPU for this. If you’re not, you can skip the next step. You can run Ollama without a GPU, though I wouldn’t recommend it.
Step 2: Check your NVIDIA Setup
The first thing you want to do is make sure your drivers are installed and working. Also, if you haven’t already installed it, you should install the NVIDIA utils:
sudo pacman -S nvidia-utils
Then check your setup with this command:
nvidia-smi
You should see a nice little screen showing your card and its status:
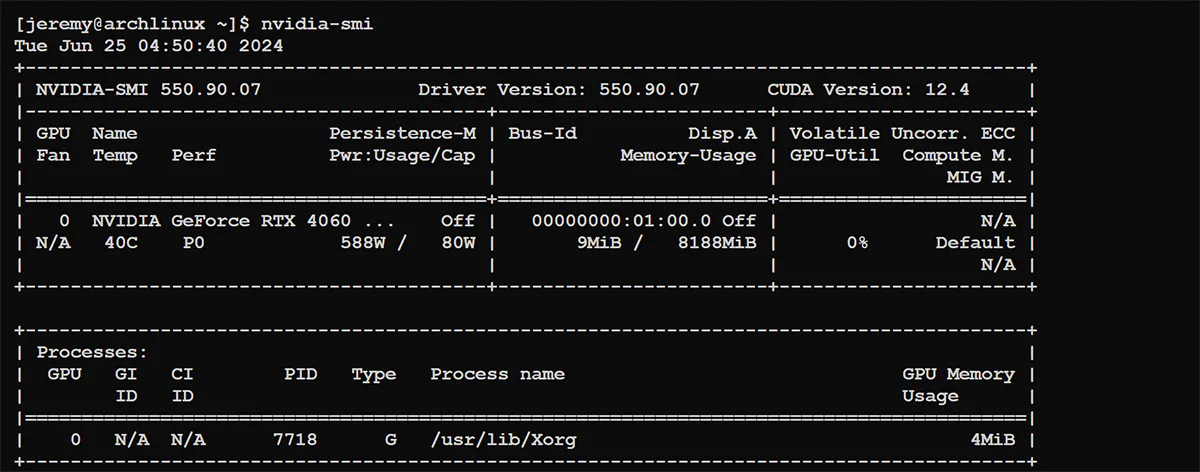
Great! We’re ready to go.
Step 3: Install Ollama
Next, we’ll install Ollama. This is straightforward:
curl -fsSL https://ollama.com/install.sh | sh
You should see a screen like this:

If you’re using an NVIDIA GPU, make sure it says “NVIDIA GPU installed.” at the bottom. If it doesn’t, go back and check your driver configuration.
To verify that Ollama was correctly installed, type
ollama -v

Step 4: Install Docker
Now, we need to install Docker on our system. Here’s how you install Docker in Arch Linux:
sudo pacman -S docker
Then start the Docker Daemon:
sudo systemctl start docker.service
Optionally, you can enable it to start when the system boots:
sudo systemctl enable docker.service
Then, add yourself to the docker group:
sudo usermod -aG docker $USER
Then log out or close your terminal. Once you’re back in, you can test your Docker installation:
docker run hello-world
You should see something like this:
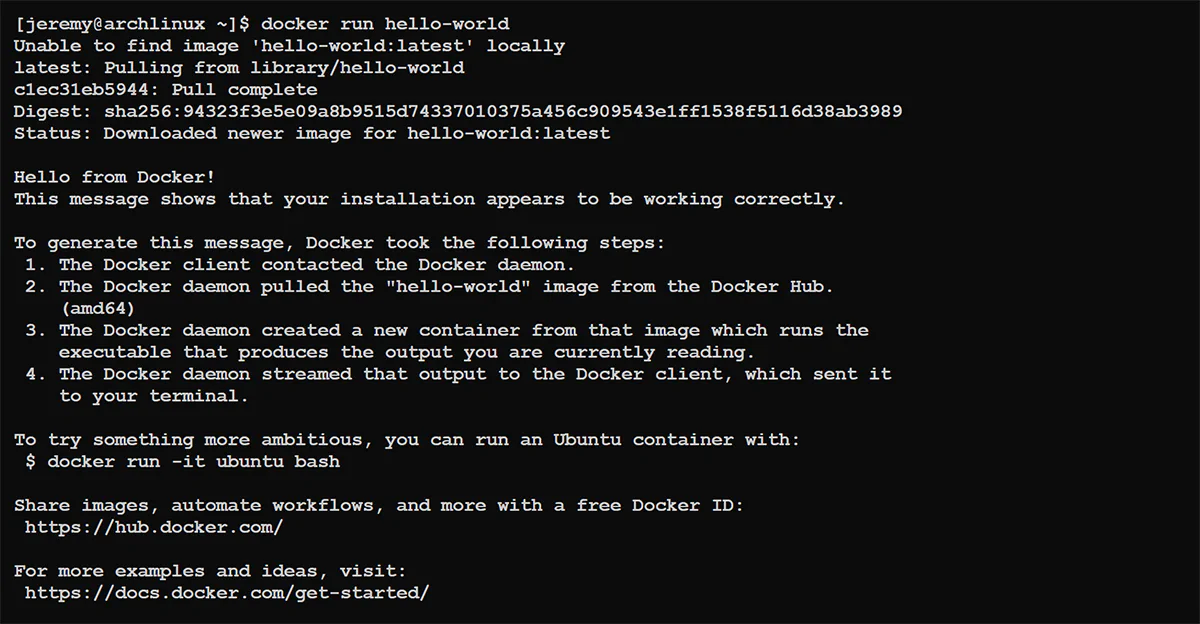
And you’re ready to go!
Step 5: Install NVIDIA Container Toolkit
If you’re running an NVIDIA GPU, make sure to install the NVIDIA container toolkit. There are a few ways to do it. Still, the easiest way in Arch is to install it from the Arch repos:
sudo pacman -S nvidia-container-toolkit
This will enable you to access your GPU from within a container. Super important for the next step!
Step 6: Install the Open WebUI
Next, we’re going to install a container with the Open WebUI installed and configured. The help page has a ton of options. Remember, this is not just for Ollama but all kinds of stuff. I recommend reading it over to see all the awesome things you can do with Open WebUI.
I’m going to choose the option to install Open WebUI with Bundled Ollama Support and select the container that utilizes a GPU:
docker run -d -p 3000:8080 --gpus=all -v ollama:/root/.ollama -v open-webui:/app/backend/data --name open-webui --restart always ghcr.io/open-webui/open-webui:ollama
If you’re not using a GPU, use this command:
docker run -d -p 3000:8080 -v ollama:/root/.ollama -v open-webui:/app/backend/data --name open-webui --restart always ghcr.io/open-webui/open-webui:ollama
It will download a bunch of stuff, which can take a while. The good news is that you’ll have a fully installed and configured instance connected to your Ollama installation on your machine.
You should see this:
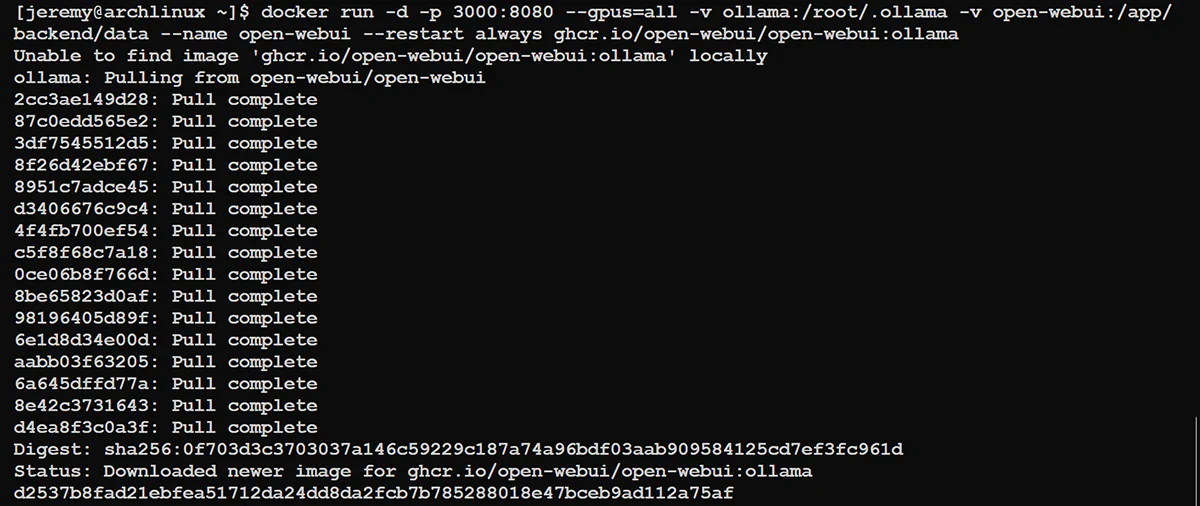
And you’re ready to go!
Step 7: Have fun with LLMs!
Now, load up the IP address of your server (or local machine) with port 3000:
http://[YOUR IP]:3000
And you’ll see this:

And you’ll need to create a new account (it’s an account on your machine, not public.)

And you’ll be instantly logged in.
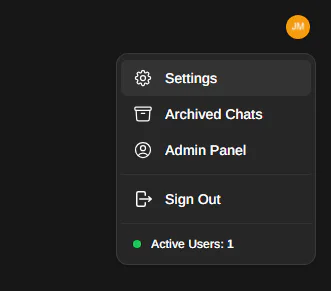
Click on your profile image:
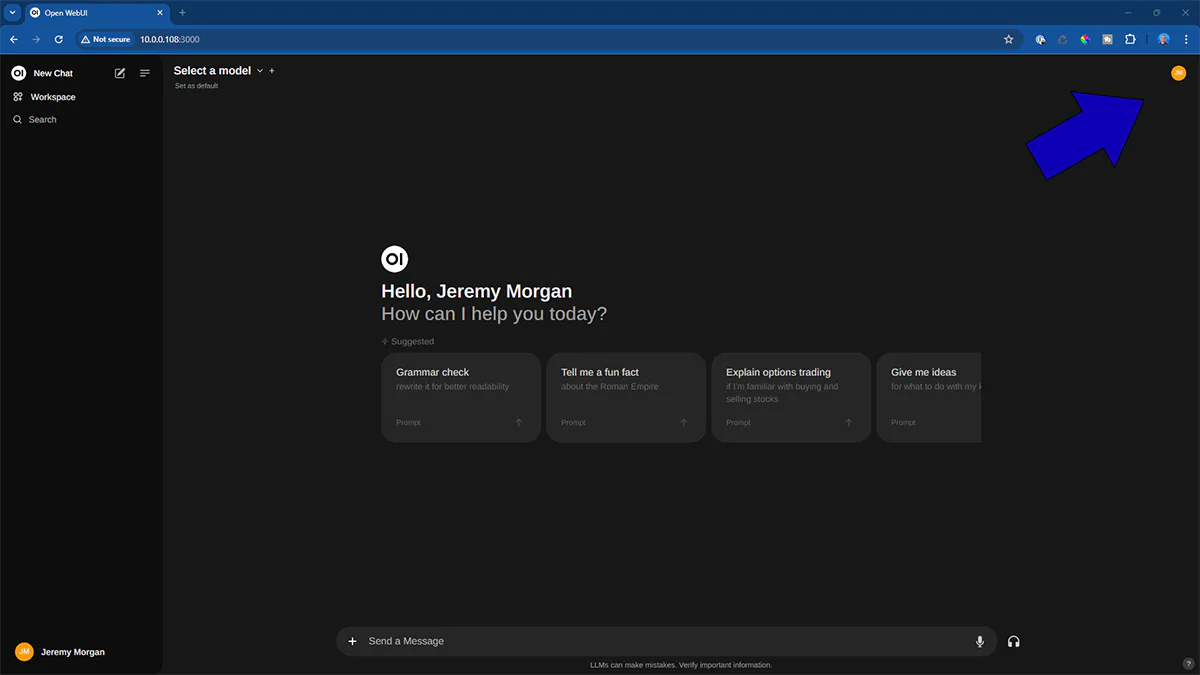
and select “settings” then admin settings
And select models. You’ll see an option to pull a model from Ollama.com:
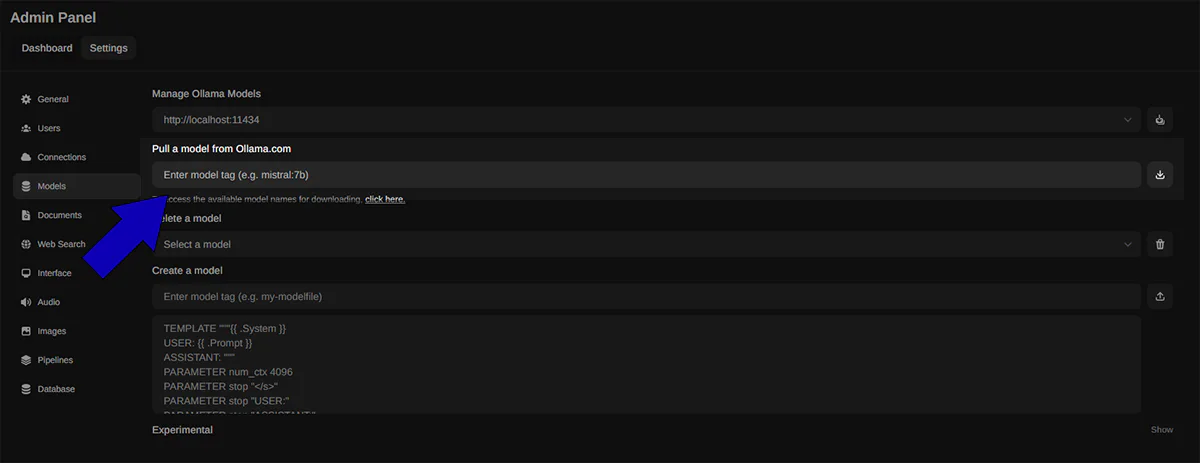
So you can choose a model from this page. I’m going to choose llama3.
Click the button next to the dialog box to download it.

Now, on the main screen, you can select a model.
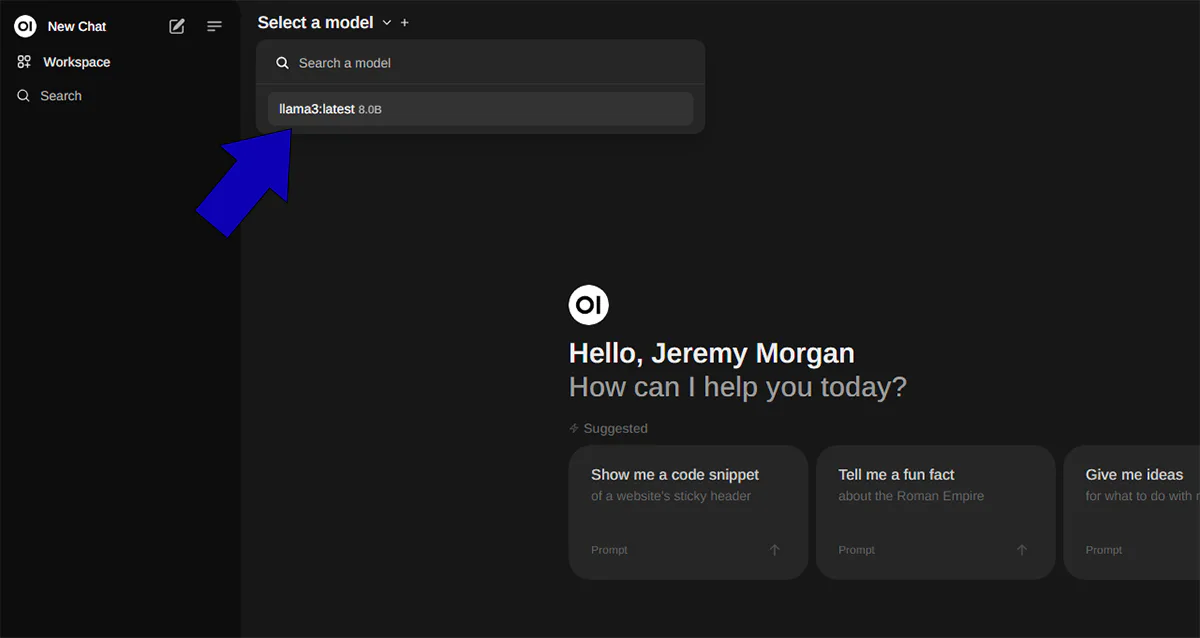
And you can type in your first query in the chat box and get the result:
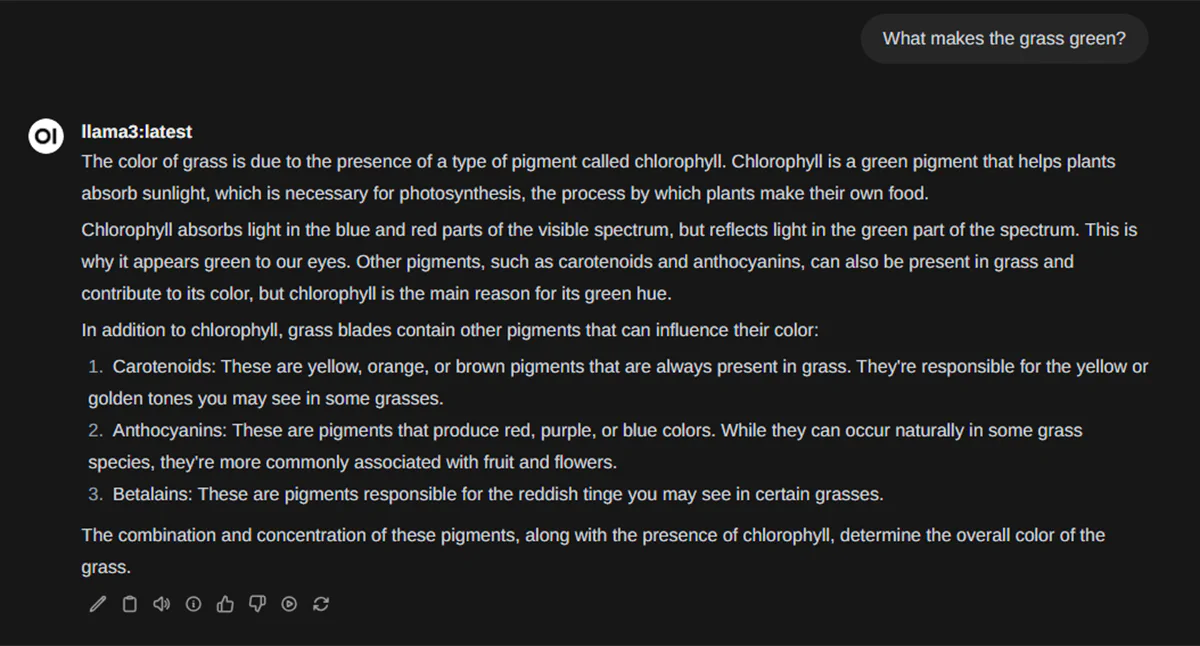
And you’ll notice a familiar interface. You can have long “chats” and have your conversations stored along the side:
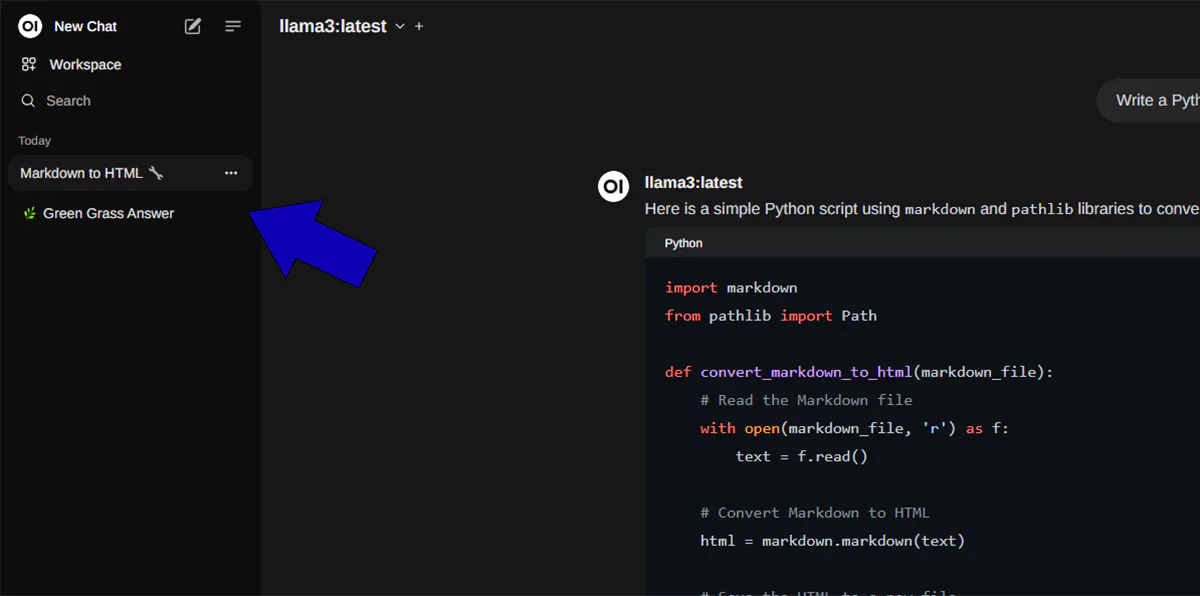
And now you are up and running with Ollama, WebUI, and Arch Linux!!
Summary
In this tutorial, we
- Configured our Arch Linux System to use an NVIDIA GPU (again, optional)
- Installed Ollama
- Installed Docker
- Installed Open WebUI
- Downloaded a model and ran it
In about 20 minutes, we have a nice local, private LLM server in Arch Linux! You can do all kinds of fun stuff with this. I used an old laptop for this and will use it as an Ollama server to play around with Models and AI apps. But you can just as easily do this on your local Arch Linux machine.
If you like this kinda stuff, stick around! I’ll explore, break stuff, fix stuff, and add what I learn here.
Questions? comments? Yell at me!!
Also, connect with me on LinkedIn. I’m often involved in fun discussions and share a lot of stuff there.


